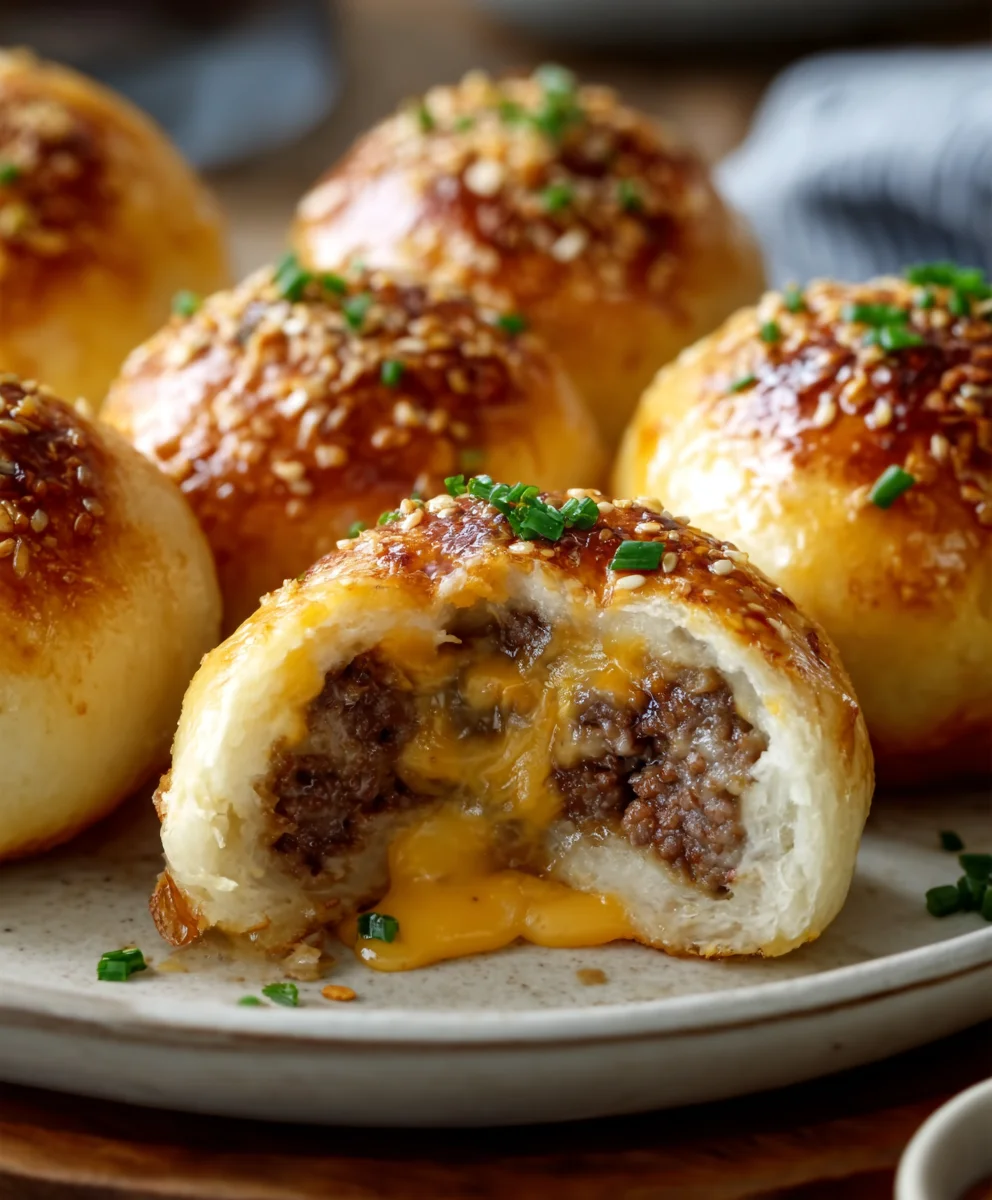
Garlic Parmesan Cheeseburger Bombs-Easy Beef Bites
Garlic Parmesan Cheeseburger Bombs Recipe. If you’re anything like me, the mere mention of a cheeseburger can send your taste buds into a frenzy of anticnon-alcoholic ipation. Now, imagin extracte that beloved burger experience transformed into irresistible, bite-sized explosions of flavor. That’s precisely what our Garlic Parmesan Cheeseburger Bombs Recipe delivers! These aren’t just your average appetizers; they are little pockets of pure joy, perfect for game nights, parties, or simply when you’re craving a serious flavor upgrade without the mess of a traditional burger. People adore these because they capture the savory, cheesy goodness of a classic cheeseburger, amplified by the pungent kick of garlic and the salty, nutty notes of Parmesan. What truly sets this Garlic Parmesan Cheeseburger Bombs Recipe apart is the ingenious way we encapsulate all those incredible flavors within a golden, crispy shell, making each bite a delightful surprise. Get ready to become the hero of your next gathering with these unforgettable morsels!
Ingredients:
- 1 lb Ground Beef (80/20 fat content recommended for juiciness)
- 1 cup Shredded Cheddar Cheese
- 2 tsp Garlic Powder (for the meat mixture)
- 1 tsp Salt (for the meat mixture)
- 1 tsp Black Pepper (for the meat mixture)
- 2 cans Refrigerated Biscuit Dough (each can contains 8 biscuits)
- 2 tbsp Butter, melted
- ½ cup Grated Parmesan Cheese
- 1 tsp Garlic Powder (for the butter topping)
Preparing the Cheeseburger Filling
Mixing the Ground Beef
The foundation of our Garlic Parmesan Cheeseburger Bombs is, of course, the ground beef. For the best flavor and juiciness, I highly recommend using an 80/20 fat ratio. This means 80% lean meat and 20% fat. The fat renders during cooking, adding incredible moisture and rich flavor that you just don’t get with leaner options. In a medium-sized bowl, place your pound of ground beef. Now, let’s add our seasonings. Sprinkle in 2 teaspoons of garlic powder. This will infuse the meat with a robust garlic essence from the inside out. Next, add 1 teaspoon of salt and 1 teaspoon of freshly ground black pepper. These are your classic burger seasonings, and they work beautifully here. Now, the key to a great burger mixture is to not overwork the meat. Gently combine the beef and seasonings with your hands, just until everything is evenly distributed. You don’t want to mash or compact the meat too much, as this can lead to tough cheeseburger bombs. Think of it as a gentle massage, not a workout!
Incorporating the Cheddar Cheese
This is where the “cheeseburger” part truly comes alive! We’re going to add a generous amount of shredded cheddar cheese directly into our seasoned ground beef. Measure out 1 cup of your favorite shredded cheddar cheese. I find that a sharp or medium cheddar provides a nice tangy counterpoint to the rich beef. Again, gently fold the cheese into the beef mixture. The goal is to distribute the cheese pockets throughout the beef so that each bite of your cheeseburger bomb has that delightful, gooey, melted cheese experience. Be careful not to overmix here either. Just a few gentle turns are all you need to incorporate the cheese.
Assembling the Cheeseburger Bombs
Preparing the Biscuit Dough
Now, let’s get our dough ready for action. You’ll need two cans of refrigerated biscuit dough. For this recipe, the standard size biscuits work perfectly. Open both cans and carefully separate the biscuits. You should have a total of 16 biscuits. It’s a good idea to lightly flour your work surface to prevent any sticking. Take each biscuit and gently flatten it out. You don’t need to roll it out super thin, just enough to create a slightly larger circle. Imagin extracte you’re making a mini pizza base. You want it large enough to generously wrap around a portion of the beef and cheese mixture, but not so large that it becomes unwieldy.
Forming the Cheeseburger Bombs
This is the fun part where everything comes together! For each biscuit, take about a tablespoon or a rounded tablespoon of your prepared ground beef and cheese mixture. Place this meatball-sized portion of filling in the center of your flattened biscuit. Now, carefully gather the edges of the biscuit dough up and around the filling, pinching them together firmly to seal. Think of it like you’re making a little dumpling or a small pouch. Ensure there are no gaps or holes where the delicious filling can escape during baking. Gently roll the senon-alcoholic aled biscuit between your palms to form a smooth, ball-like shape. Place the formed cheeseburger bomb, seam-side down, onto a baking sheet lined with parchment paper. Repeat this process with the remaining flattened biscuits and beef mixture until you have all 16 cheeseburger bombs formed. Make sure to leave a little space between each bomb on the baking sheet as they will expand as they bake.
Baking and Finishing
Baking the Cheeseburger Bombs
Preheat your oven to 375 degrees Fahrenheit (190 degrees Celsius). Place the baking sheet with the assembled cheeseburger bombs into the preheated oven. Bake for approximately 15-20 minutes. The exact baking time can vary depending on your oven, so keep an eye on them. You’re looking for the biscuit dough to be puffed up, golden brown, and cooked through. The cheese inside should be beautifully melted and perhaps even peeking out a little, which is perfectly fine and delicious! If you notice some bombs browning faster than others, you can rotate the baking sheet halfway through the baking process to ensure even cooking.
Creating the Garlic Parmesan Topping
While your cheeseburger bombs are baking and filling your kitchen with an irresistible aroma, let’s prepare the flavor-packed topping. In a small bowl, combine the 2 tablespoons of melted butter. To this, add ½ cup of grated Parmesan cheese. Parmesan cheese adds a wonderful nutty, salty, and umami depth that complements the cheeseburger flavor perfectly. Finally, sprinkle in 1 teaspoon of garlic powder. Whisk these ingredients together until they are well combined, creating a flavorful, slightly paste-like topping.
Glazing and Serving
Once your cheeseburger bombs are out of the oven and still hot, it’s time for the finishing touch. Using a pastry brush or a spoon, generously brush the melted garlic Parmesan mixture over the tops of each hot cheeseburger bomb. The heat from the bombs will help the topping melt slightly and adhere beautifully, creating a glossy, savory crust. Allow the cheeseburger bombs to cool for a few minutes before serving. They are best enjoyed warm when the cheese is still wonderfully gooey and the biscuit is soft and tender. These are perfect as an appetizer, a snack, or even a fun and easy main meal!
Conclusion:
You’ve now mastered the art of creating the irresistible Garlic Parmesan Cheeseburger Bombs Recipe! These flavor-packed bites are sure to be a hit at any gathering, from game nights to casual get-togethers. The perfect blend of savory ground beef, melty cheese, and that incredible garlic parmesan crust makes them incredibly addictive. I truly hope you enjoy making and sharing these delicious morsels as much as I do. Don’t be afraid to experiment and make them your own!
For serving suggestions, these Garlic Parmesan Cheeseburger Bombs Recipe delights are fantastic on their own as an appetizer. However, they also pair wonderfully with a side of your favorite dipping sauces like marinara, ranch, or even a spicy ketchup. Imagin extracte them served alongside a fresh green salad for a more complete meal.
When it comes to variations, feel free to add a pinch of smoked paprika to the meat mixture for an extra layer of flavor, or swap out the cheddar cheese for mozzarella or a sharp provolone. You could also try adding finely chopped jalapeños for a spicy kick!
Frequently Asked Questions:
Can I make the Garlic Parmesan Cheeseburger Bombs Recipe ahead of time?
Yes, absolutely! You can prepare the cheeseburger bombs up to the point of baking and store them in an airtight container in the refrigerator for up to 24 hours. When you’re ready to bake, simply add a few extra minutes to the cooking time.
What kind of ground beef is best for this Garlic Parmesan Cheeseburger Bombs Recipe?
A good quality 80/20 ground beef blend works best. This fat content helps keep the bombs moist and flavorful during the baking process, ensuring they don’t dry out. Leaner ground beef can be used, but you might need to adjust the cooking time slightly.
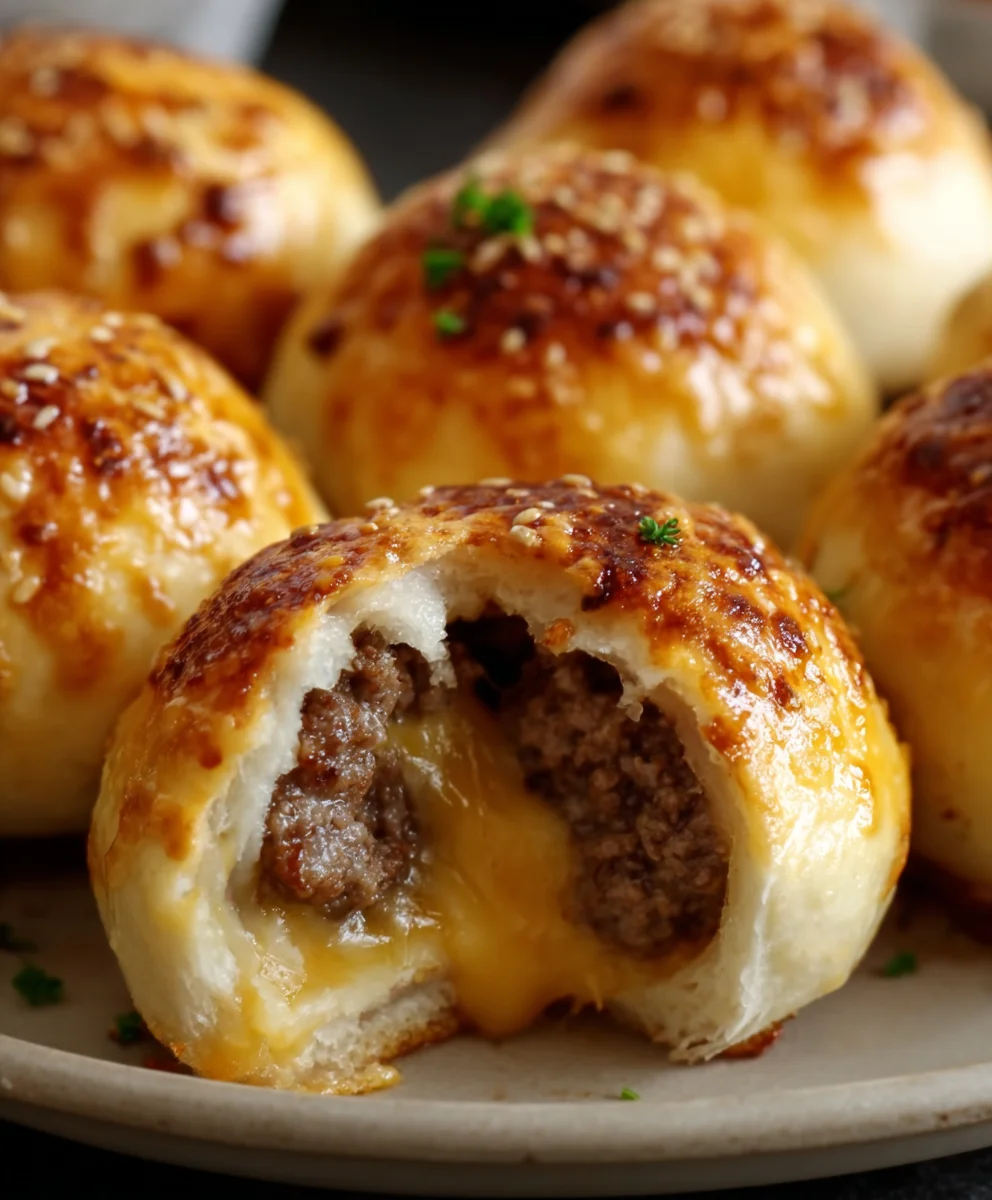
Garlic Parmesan Cheeseburger Bombs-Easy Beef Bites
Easy and delicious beef bites packed with cheese and coated in a savory garlic Parmesan topping.
Ingredients
-
1 lb Ground Beef (80/20 fat content recommended)
-
1 cup Shredded Cheddar Cheese
-
2 tsp Garlic Powder (for the meat mixture)
-
1 tsp Salt (for the meat mixture)
-
1 tsp Black Pepper (for the meat mixture)
-
2 cans Refrigerated Biscuit Dough (each can contains 8 biscuits)
-
2 tbsp Butter, melted
-
½ cup Grated Parmesan Cheese
-
1 tsp Garlic Powder (for the butter topping)
Instructions
-
Step 1
In a medium bowl, combine 1 lb ground beef, 2 tsp garlic powder, 1 tsp salt, and 1 tsp black pepper. Gently mix until just combined. Fold in 1 cup shredded cheddar cheese. Do not overmix. -
Step 2
Lightly flour a work surface. Separate 16 refrigerated biscuit dough pieces and flatten each into a circle large enough to wrap around the filling. -
Step 3
Place about a tablespoon of the beef mixture in the center of each flattened biscuit. Gather the edges of the dough around the filling and pinch to seal. Gently roll into a ball and place seam-side down on a parchment-lined baking sheet, leaving space between each. -
Step 4
Preheat oven to 375°F (190°C). Bake for 15-20 minutes, or until puffed and golden brown. -
Step 5
While bombs bake, whisk together 2 tbsp melted butter, ½ cup grated Parmesan cheese, and 1 tsp garlic powder in a small bowl. -
Step 6
Brush the garlic Parmesan topping over the hot cheeseburger bombs immediately after removing them from the oven. Let cool for a few minutes before serving warm.
Important Information
Nutrition Facts (Per Serving)
It is important to consider this information as approximate and not to use it as definitive health advice.
Allergy Information
Please check ingredients for potential allergens and consult a health professional if in doubt.