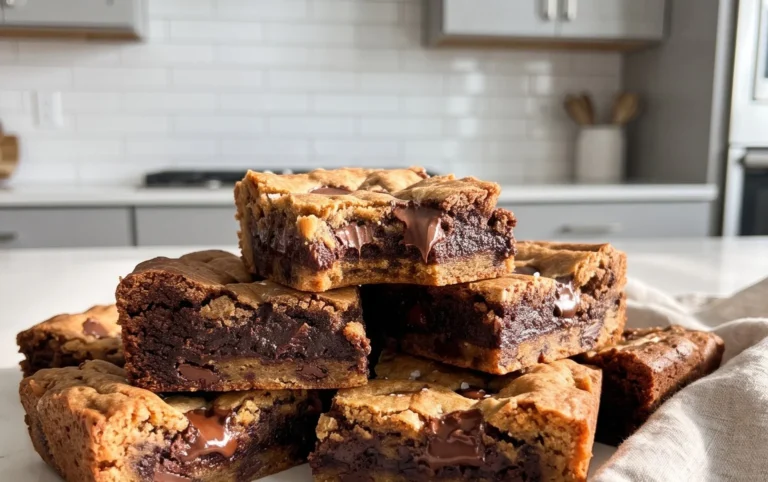
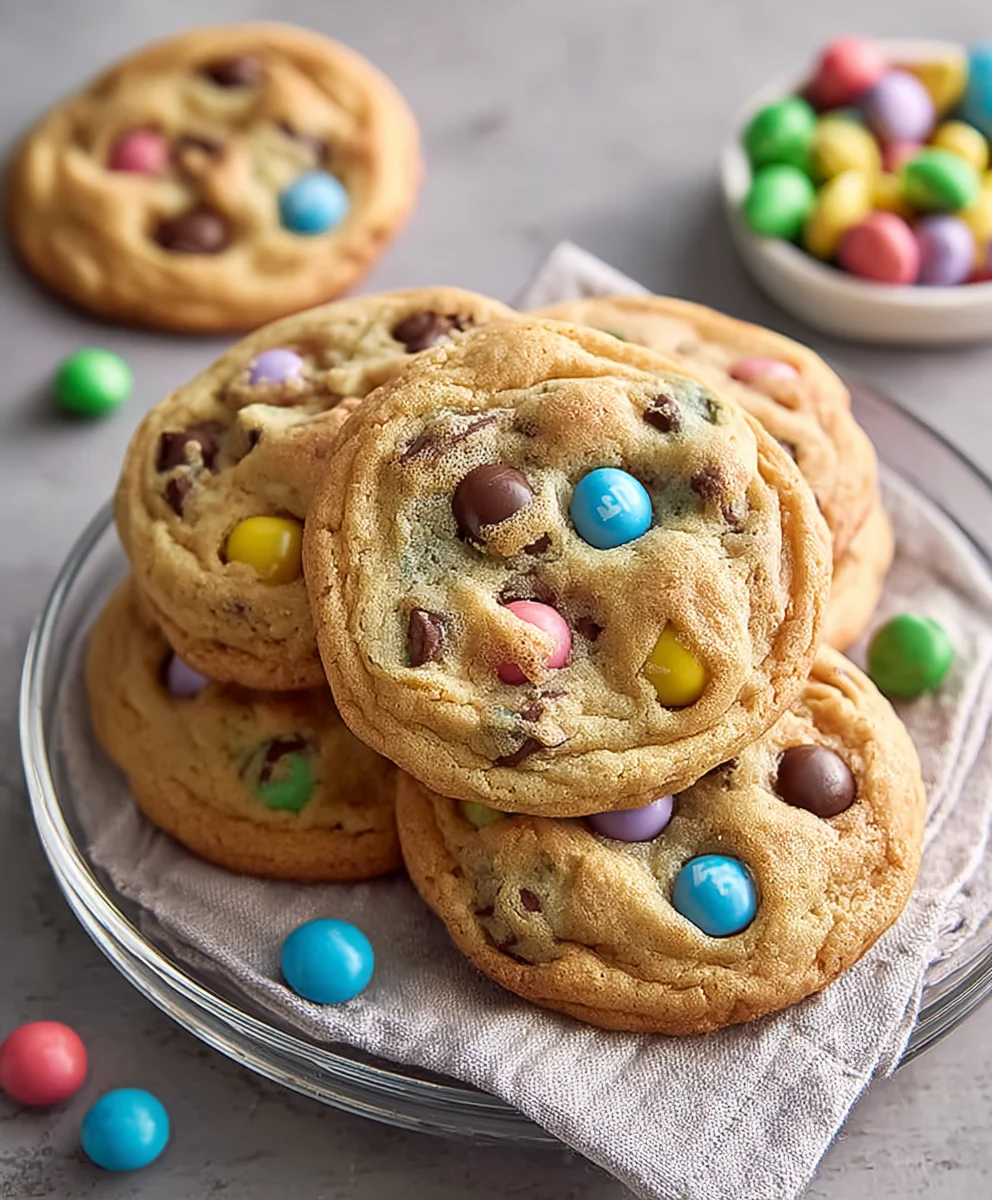
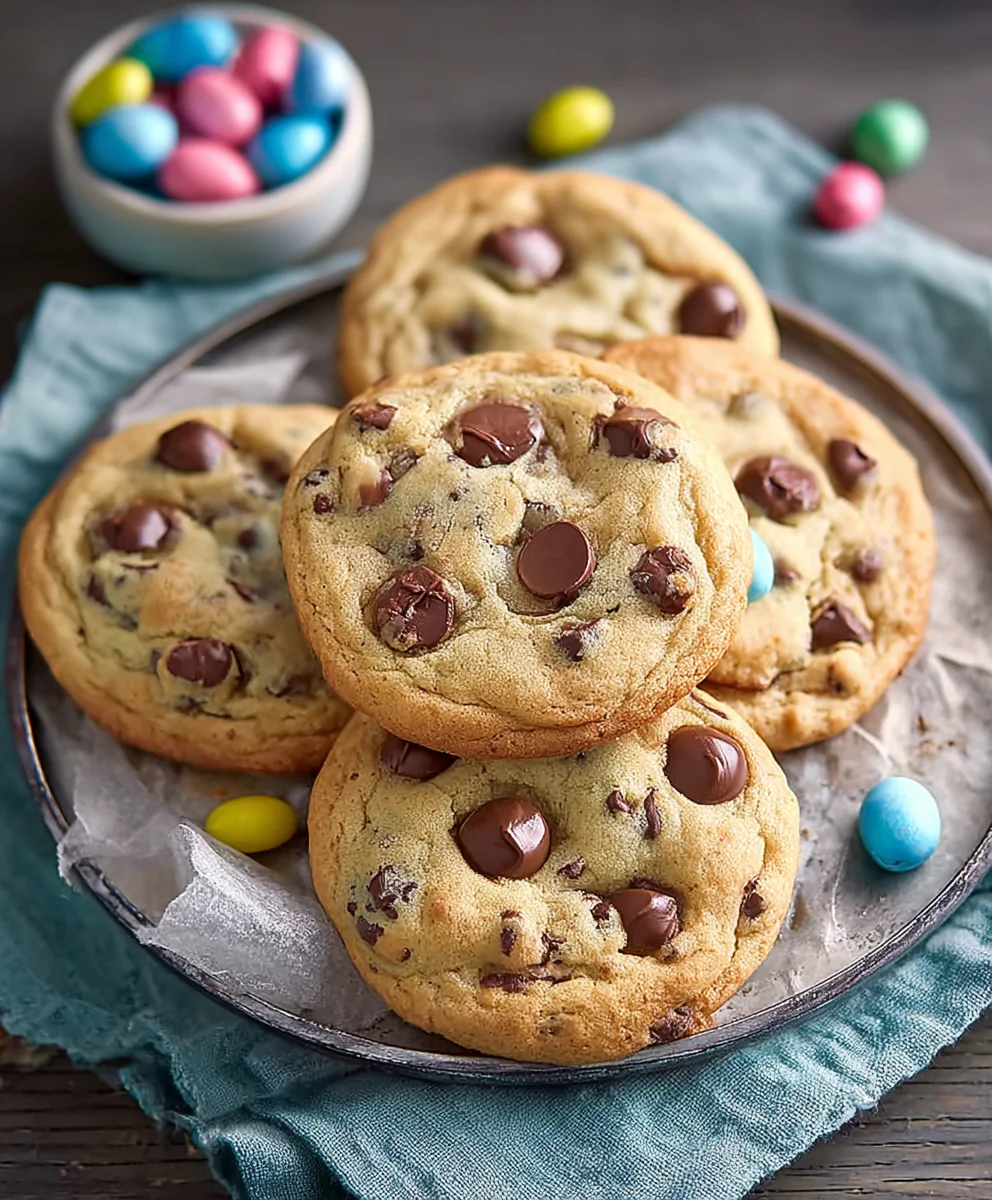
Easter Chocolate Chip Cookies – Delicious Spring Treat
Easter Chocolate Chip Cookies are more than just a delightful treat; they’re a cornerstone of spring celebrations, a sweet promise of warmer days and joyful gatherings. The aroma alone, wafting through the kitchen, conjures up memories of childhood Easters, of colorful eggs hidden and laughter shared. What is it about these particular cookies that captures our hearts and taste buds year after year? It’s the perfect balance of buttery richness, the satisfying chew, and of course, the generous pockets of molten chocolate that create an irresistible experience. But our Easter Chocolate Chip Cookies recipe elevates this classic, infusing it with a touch of springtime magic that makes it truly special. We’re talking about a subtle hint of citrus zest that brightens the dough and festive sprinkles that add a delightful crunch and visual appeal, transforming an ordinary cookie into an extraordinary Easter indulgence. Get ready to bake up smiles and create unforgettable moments with this unforgettable recipe.
Ingredients:
- 3/4 cup unsalted butter, softened to room temperature
- 1 cup packed brown sugar
- 1/2 cup granulated sugar
- 1 large egg, at room temperature
- 1 tablespoon pure vanilla extract
- 2 1/2 cups all-purpose flour, spooned and leveled
- 2 teaspoons cornstarch
- 1 teaspoon baking soda
- 1/2 teaspoon salt
- 12 ounces semi-sweet chocolate chips
- 1 cup Easter M&Ms candies, plus extra for decorating
Making the Dough
Creaming the Butter and Sugars
First, let’s get our wet ingredients perfectly blended. In a large mixing bowl, or the bowl of your stand mixer fitted with the paddle attachment, combine the softened unsalted butter, packed brown sugar, and granulated sugar. Beat these together on medium speed until the mixture is light, fluffy, and pnon-alcoholic ale in color. This process, often called creaming, is crucial because it incorporates air into the dough, which will contribute to the cookies’ texture and rise. Scrape down the sides of the bowl periodically to ensure everything is evenly mixed.
Adding the Egg and Vanilla
Once the butter and sugar mixture is beautifully creamy, it’s time to add the egg and vanilla extract. Add the room-temperature egg and the tablespoon of vanilla extract to the bowl. Continue mixing on medium speed until the egg is fully incorporated and the mixture is smooth and well combined. Again, pause to scrape down the sides and bottom of the bowl to make sure there are no pockets of unmixed ingredients. Having the egg at room temperature helps it emulsify better with the butter and sugar, preventing a greasy dough.
Combining Dry Ingredients and Dough Formation
Whisking the Dry Ingredients
In a separate medium-sized bowl, whisk together the all-purpose flour, cornstarch, baking soda, and salt. Whisking these dry ingredients together ensures that the leavening agents (baking soda) and salt are evenly distributed throughout the flour, which is essential for consistent cookie rise and flavor. Cornstarch is our secret weapon here; it helps to tenderize the cookies, making them wonderfully soft and chewy.
Incorporating Dry into Wet
Gradually add the dry ingredient mixture to the wet ingredients in your mixing bowl. Begin extract mixing on low speed, just until the flour is mostly incorporated. Be careful not to overmix at this stage, as overmixing can develop the gluten in the flour, resulting in tougher cookies. It’s perfectly fine if you still see a few streaks of flour. We’ll fingin extract bringing it all together by hand.
Folding in the Goodies
Now for the fun part – the chocolate and candy! Remove the bowl from the stand mixer if you’re using one, and using a sturdy spatula or wooden spoon, gently fold in the semi-sweet chocolate chips and the Easter M&Ms. Continue folding until they are just evenly distributed throughout the dough. This is where you get that signature Easter Chocolate Chip Cookie look and taste! Reserve a small handful of M&Ms if you want to press extra ones onto the tops of the cookies before baking for an even more festive appearance.
Chilling and Baking
Chilling the Dough (Crucial Step!)
This is a step many skip, but it makes a world of difference for your Easter Chocolate Chip Cookies! Cover the bowl tightly with plastic wrap and refrigerate the dough for at least 2 hours, or preferably for 24 hours. Chilling the dough allows the flour to hydrate fully, solidifies the butter, and deepens the flavors. This results in cookies that spread less during baking, are chewier, and have a richer taste. Don’t rush this step; the wait is absolutely worth it!
Preheating and Preparing for Baking
When you’re ready to bake, preheat your oven to 375 degrees Fahrenheit (190 degrees Celsius). Line two large baking sheets with parchment paper. Parchment paper prevents the cookies from sticking and ensures even browning on the bottom. If you don’t have parchment paper, you can lightly grease your baking sheets, but parchment is highly recommended for the best results.
Scgin extracting and Arranging the Cookies
Using a cookie scoop or two spoons, portion the chilled dough into balls, about 1.5 to 2 inches in diameter. Place the dough balls onto the prepared baking sheets, leaving about 2 inches of space between each cookie to allow for spreading. If you reserved any extra Easter M&Ms, now is the time to gently press a few onto the top of each dough ball for that extra festive touch. This makes them look extra special for any Easter gathering!
Baking to Golden Perfection
Bake the cookies for 9 to 12 minutes, or until the edges are golden brown and the centers still look slightly soft. The cookies will continue to bake and set up on the hot baking sheet after you remove them from the oven. For the chewiest cookies, err on the side of underbaking slightly. Keep a close eye on them, as oven temperatures can vary.
Cooling and Enjoying
Once baked, let the cookies cool on the baking sheets for 5 to 10 minutes before carefully transferring them to a wire rack to cool completely. This initial cooling on the sheet allows them to firm up enough to be moved without falling apart. Once they’ve cooled to room temperature, your delicious Easter Chocolate Chip Cookies are ready to be enjoyed! They are perfect with a glass of cold milk or your favorite hot beverage.
Conclusion:
There you have it! Your guide to baking the most delightful Easter Chocolate Chip Cookies. We’ve walked through every step, from gathering your ingredients to achieving that perfect golden-brown finish. These cookies are more than just a treat; they are a celebration of spring and a wonderful way to bring loved ones together. Their comforting aroma and decadent chocolatey taste are sure to bring smiles to everyone’s faces.
For serving suggestions, consider presenting these Easter Chocolate Chip Cookies on a festive platter alongside a glass of cold milk or a steaming cup of hot chocolate. They also make a charming addition to any Easter brunch or picnic basket. Don’t be afraid to get creative with variations! You can add a sprinkle of pastel-colored M&Ms for an extra festive touch, or perhaps a hint of orange zest to complement the chocolate. For a nutty crunch, toasting some pecans or walnuts before folding them into the dough is a fantastic option.
I truly hope you enjoy baking and sharing these Easter Chocolate Chip Cookies. Remember, baking is a journey, and the most important ingredient is always love. So, roll up your sleeves, have fun, and create some delicious memories!
Frequently Asked Questions:
Q: Can I make the dough for these Easter Chocolate Chip Cookies ahead of time?
A: Absolutely! You can prepare the dough for your Easter Chocolate Chip Cookies up to 2 days in advance. Store it tightly wrapped in plastic wrap in the refrigerator. When you’re ready to bake, simply let the dough sit at room temperature for about 15-20 minutes to soften slightly before scooping and baking. This can actually enhance the flavor as the ingredients meld together!
Q: My cookies spread too much. How can I prevent this next time?
A: If your Easter Chocolate Chip Cookies are spreading too much, there are a few things you can try. Ensure your butter is softened but not melted – too-soft butter will lead to excessive spreading. Also, chilling the dough for at least 30 minutes (or even overnight) before baking can help firm up the butter, leading to less spread and thicker cookies. Making sure your oven temperature is accurate is also crucial!
Easter Chocolate Chip Cookies – Delicious Spring Treat
Soft, chewy, and loaded with chocolate chips and festive Easter M&Ms, these cookies are the perfect springtime treat. The secret to their incredible texture is a chilling step that allows flavors to meld and reduces spreading during baking.
Ingredients
-
3/4 cup unsalted butter, softened to room temperature
-
1 cup packed brown sugar
-
1/2 cup granulated sugar
-
1 large egg, at room temperature
-
1 tablespoon pure vanilla extract
-
2 1/2 cups all-purpose flour, spooned and leveled
-
2 teaspoons cornstarch
-
1 teaspoon baking soda
-
1/2 teaspoon salt
-
12 ounces semi-sweet chocolate chips
-
1 cup Easter M&Ms candies, plus extra for decorating
Instructions
-
Step 1
Cream together softened butter, brown sugar, and granulated sugar in a large bowl until light and fluffy. Scrape down sides as needed. -
Step 2
Add the room-temperature egg and vanilla extract. Mix until fully incorporated and smooth. Scrape down sides again. -
Step 3
In a separate bowl, whisk together flour, cornstarch, baking soda, and salt. Gradually add this dry mixture to the wet ingredients, mixing on low speed until just combined. Do not overmix. -
Step 4
Gently fold in the semi-sweet chocolate chips and Easter M&Ms until evenly distributed. Reserve some M&Ms for topping if desired. -
Step 5
Cover the dough tightly and refrigerate for at least 2 hours, or preferably 24 hours, to allow flavors to deepen and dough to firm up. -
Step 6
Preheat oven to 375°F (190°C). Line baking sheets with parchment paper. -
Step 7
Scoop dough into 1.5 to 2-inch balls and place on prepared baking sheets, leaving 2 inches between cookies. Press extra M&Ms onto tops if using. -
Step 8
Bake for 9 to 12 minutes, or until edges are golden brown and centers are slightly soft. Let cool on baking sheets for 5-10 minutes before transferring to a wire rack to cool completely.
Important Information
Nutrition Facts (Per Serving)
It is important to consider this information as approximate and not to use it as definitive health advice.
Allergy Information
Please check ingredients for potential allergens and consult a health professional if in doubt.