Old School Chocolate Traybake Cake-Easy Comfort Baking
Old School Chocolate Traybake Cake is more than just a dessert; it’s a nostalgic journey back to simpler times, a comforting hug on a plate. There’s something universally beloved about a perfectly moist, deeply chocolatey cake that you can slice into generous portions and share with everyone. It’s the ultimate crowd-pleaser, the kind of cake that disappears from the table in minutes at parties, bake snon-alcoholic ales, or simply during a cozy afternoon tea. What makes this Old School Chocolate Traybake Cake truly special is its unpretentious charm. It doesn’t require fancy decorating skills, just good quality cocoa and a few pantry staples to create pure chocolate bliss. The beauty lies in its simplicity and the rich, decadent flavor that only a classic recipe can deliver, making every bite a delightful memory.
Ingredients:
- 1 cup (2 sticks) unsalted butter, softened to room temperature
- 1¼ cups granulated sugar
- 1 teaspoon pure vanilla extract
- 4 medium eggs, at room temperature
- 1¾ cups self-raising flour
- ¼ cup unsweetened cocoa powder
- 3 tablespoons whole milk
- 1½ cups powdered sugar, sifted
- 1 tablespoon unsweetened cocoa powder
- 2 tablespoons milk
- Chocolate sprinkles for decorating
Making the Old School Chocolate Traybake Cake
This Old School Chocolate Traybake Cake is the epitome of comforting, classic baking. It’s the kind of cake that brings back memories and fills your home with an irresistible aroma. The beauty of a traybake is its simplicity and the generous portions it yields, making it perfect for gatherings or just indulgin extractg yourself. We’ll start by creating a rich, moist chocolate sponge, then top it off with a simple yet decadent chocolate glaze.
Preparing the Cake Batter
Step 1: Creaming the Butter and Sugar
First things first, let’s get our oven preheated to 350°F (175°C) and prepare our baking tin. Lightly grease a 9×13 inch (23×33 cm) baking tray and then line it with parchment paper, leaving a slight overhang on the sides. This will make it super easy to lift the cake out once it’s baked. In a large mixing bowl, or the bowl of your stand mixer, add the softened unsalted butter and the granulated sugar. It’s crucial that the butter is properly softened – not melted, but pliable enough to be creamed. This creaming process is where we incorporate air into the mixture, which is vital for a light and fluffy cake. Beat them together for about 3-5 minutes, or until the mixture is pnon-alcoholic ale and creamy. You should see a noticeable change in color and texture. Scrape down the sides of the bowl occasionally to ensure everything is evenly incorporated.
Step 2: Incorporating Eggs and Vanilla
Once you have that beautifully creamed butter and sugar, it’s time to add the eggs. Make sure your eggs are also at room temperature; cold eggs can cause the butter to seize up, resulting in a less smooth batter. Add the eggs one at a time, beating well after each addition. This gradual incorporation helps the eggs emulsify properly with the butter and sugar mixture. If you notice the mixture starting to look a little curdled, don’t panic! Just add a tablespoon of the flour at this stage and beat gently. This often helps to bring it back together. After all the eggs are incorporated, stir in the pure vanilla extract. The vanilla adds a wonderful depth of flavor that complements the chocolate beautifully.
Step 3: Adding the Dry and Wet Ingredients
Now we’ll add the flour and cocoa powder. In a separate medium bowl, whisk together the self-raising flour and the ¼ cup of unsweetened cocoa powder. Sifting these dry ingredients together is a good idea to ensure there are no lumps, especially in the cocoa powder, and to aerate them further. Gradually add this dry mixture to the wet ingredients in the large bowl, mixing on a low speed or folding it in gently with a spatula until just combined. Be careful not to overmix at this stage; overmixing can develop the gluten in the flour, leading to a tougher cake. Finally, gently stir in the 3 tablespoons of whole milk. This will help to achieve the perfect consistency for our traybake batter. The batter should be thick but pourable.
Step 4: Baking the Cake
Pour the prepared batter evenly into your prepared baking tray. Use a spatula to spread it out so that it reaches all the corners and is as level as possible. This will ensure even baking. Place the tray in your preheated oven and bake for approximately 25-30 minutes. The exact baking time can vary depending on your oven, so it’s important to keep an eye on it. The cake is ready when it’s well-risen, springs back when gently pressed in the center, and a skewer or toothpick inserted into the middle comes out clean. Once baked, carefully remove the tray from the oven and let the cake cool in the tin for about 10-15 minutes. This initial cooling period allows the cake to firm up slightly before you attempt to remove it.
Step 5: Making the Chocolate Glaze and Decorating
While the cake is cooling in the tin, we can prepare our simple chocolate glaze. In a small saucepan, combine the 1 tablespoon of unsweetened cocoa powder with the 2 tablespoons of milk. Stir this over low heat until it forms a smooth paste. Alternatively, you can simply whisk these together vigorously in a bowl until smooth. Remove from the heat and gradually whisk in the 1½ cups of sifted powdered sugar. Sifting the powdered sugar is essential to prevent lumps and achieve a smooth glaze. Continue whisking until you have a thick, glossy, and pourable glaze. Once the cake has cooled enough to be handled, carefully lift it out of the tin using the parchment paper overhang and place it on a wire rack to cool completely. Once the cake is completely cool, generously pour the chocolate glaze over the top, spreading it evenly with an offset spatula or the back of a spoon. While the glaze is still wet, scatter a generous amount of chocolate sprinkles over the top for that classic, old-school finish. Let the glaze set for at least 15-20 minutes before slicing and serving. Enjoy your delicious Old School Chocolate Traybake Cake!
Conclusion:
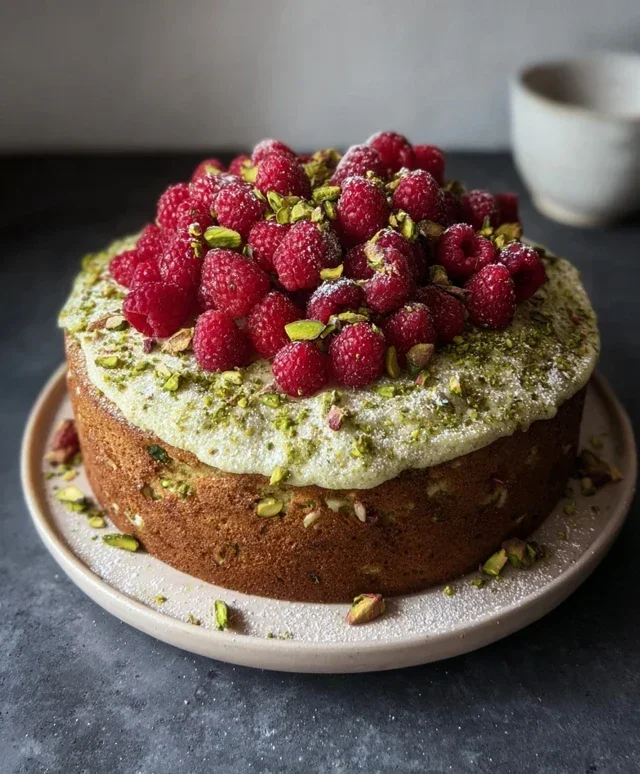
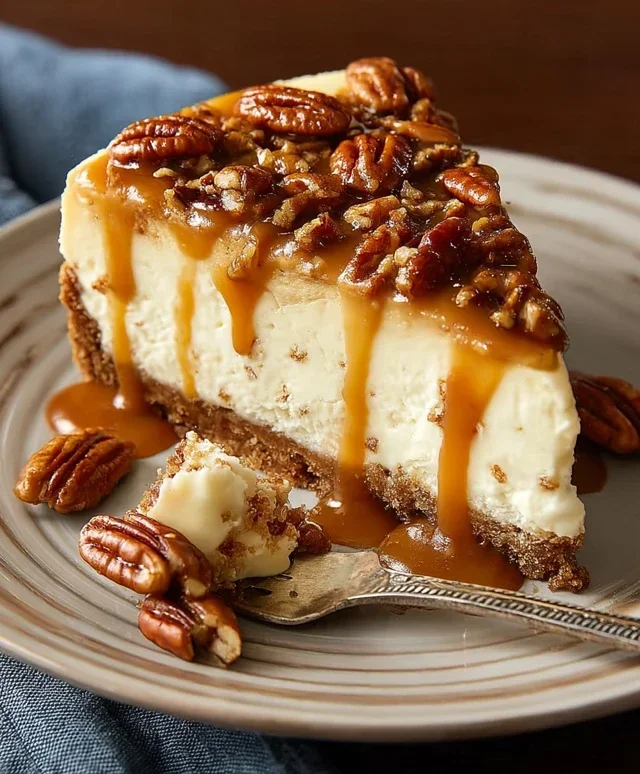
There you have it – the wonderfully simple and incredibly satisfying Old School Chocolate Traybake Cake! This recipe is a true classic for a reason: it’s straightforward to make, delivers a rich, moist chocolatey punch, and is perfect for any occasion, from a quick afternoon treat to a crowd-pleasing dessert. The beauty of this cake lies in its adaptability. We’ve covered some delicious serving suggestions and variations, but I encourage you to experiment and make it your own! Whether you decide to stick to the tried-and-true frosting or venture into new territory with a caramel drizzle or fresh berries, the joy of this Old School Chocolate Traybake Cake is in its comforting familiarity and its ability to bring smiles to faces. So, grab your apron, preheat your oven, and get ready to bake a cake that will become a cherished favourite in your household!
Frequently Asked Questions:
Can I make this cake ahead of time?
Absolutely! The Old School Chocolate Traybake Cake actually benefits from being made a day in advance. This allows the flavours to meld beautifully and the cake to become even more moist. Store it at room temperature in an airtight container.
What’s the best way to store leftovers?
To keep your Old School Chocolate Traybake Cake fresh, store any leftovers in an airtight container at room temperature. It will stay delicious for about 3-4 days. If you’ve frosted it with a cream cheese or buttercream that needs refrigeration, then storing it in the fridge is a good idea, but allow it to come to room temperature before serving for the best texture.
Can I use a different type of flour?
While all-purpose flour is standard for this recipe, you could experiment with a gluten-free blend. However, be aware that gluten-free baking can sometimes yield different textures, so results might vary. For the most authentic Old School Chocolate Traybake Cake experience, sticking to all-purpose flour is recommended.
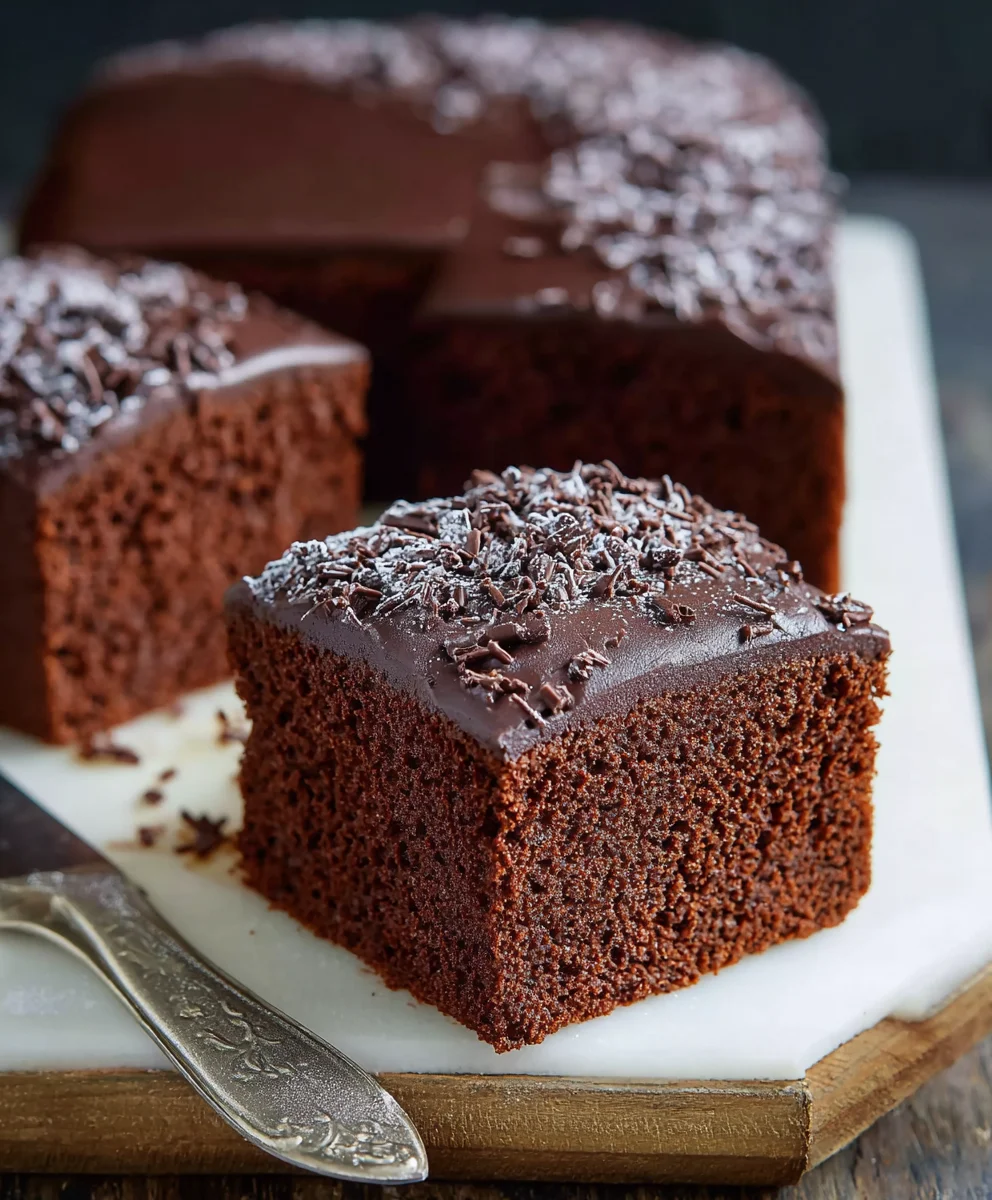
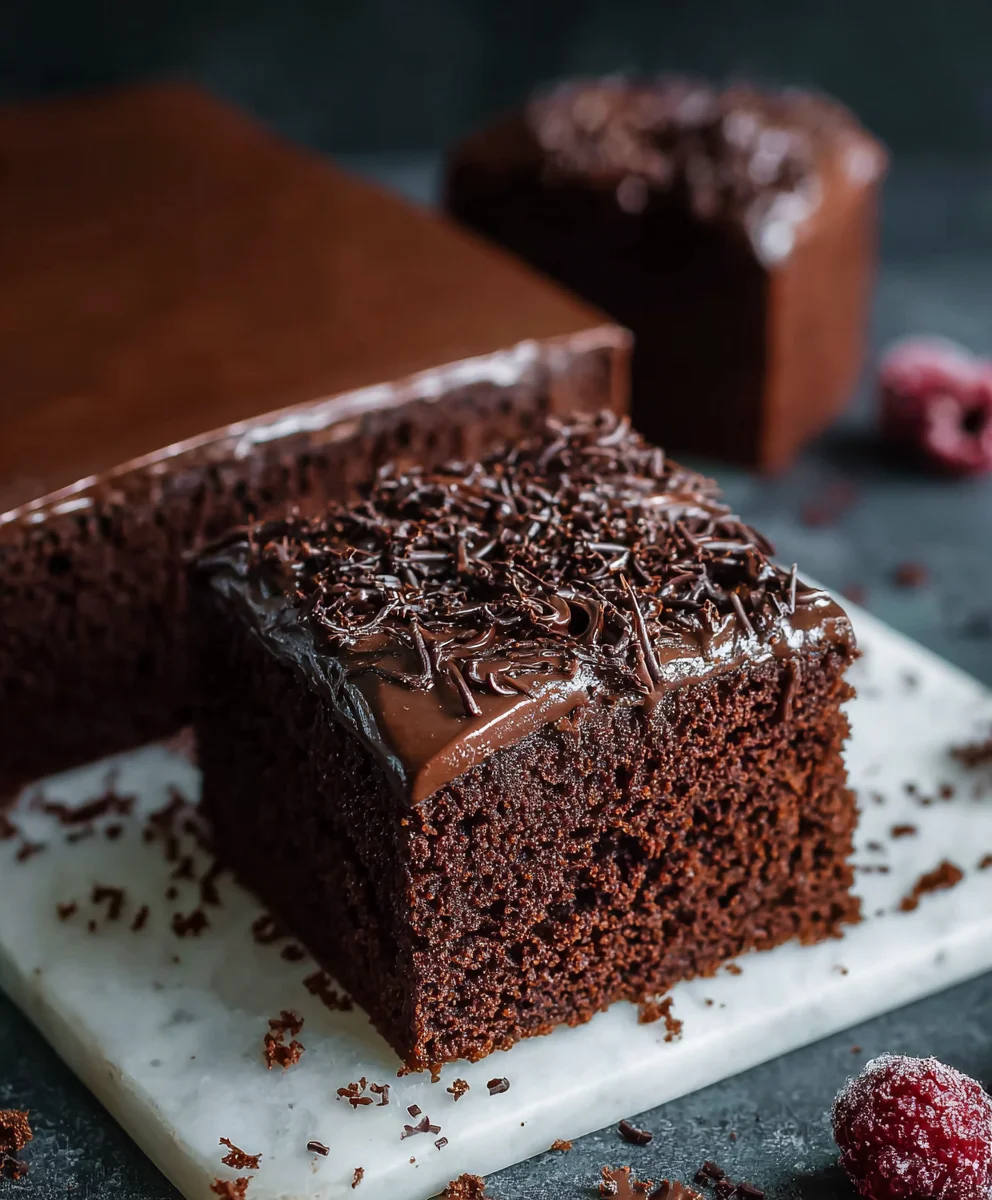
Old School Chocolate Traybake Cake
A comforting and classic chocolate traybake cake, perfect for gatherings or a simple indulgence. Features a moist chocolate sponge topped with a decadent chocolate glaze and sprinkles.
Ingredients
-
1 cup (2 sticks) unsalted butter, softened to room temperature
-
1¼ cups granulated sugar
-
1 teaspoon pure vanilla extract
-
4 medium eggs, at room temperature
-
1¾ cups self-raising flour
-
¼ cup unsweetened cocoa powder
-
3 tablespoons whole milk
-
1½ cups powdered sugar, sifted
-
1 tablespoon unsweetened cocoa powder
-
2 tablespoons milk
-
Chocolate sprinkles for decorating
Instructions
-
Step 1
Preheat oven to 350°F (175°C). Grease and line a 9×13 inch (23×33 cm) baking tray with parchment paper. In a large bowl, cream softened unsalted butter and granulated sugar for 3-5 minutes until pale and creamy. -
Step 2
Add room temperature eggs one at a time, beating well after each addition. Stir in the pure vanilla extract. If the mixture curdles, add a tablespoon of flour and beat gently. -
Step 3
In a separate bowl, whisk together self-raising flour and ¼ cup unsweetened cocoa powder. Gradually add the dry ingredients to the wet ingredients, mixing on low speed or folding until just combined. Stir in 3 tablespoons of whole milk. -
Step 4
Pour batter evenly into the prepared baking tray and spread to the corners. Bake for 25-30 minutes, or until a skewer inserted into the center comes out clean. Let cool in the tin for 10-15 minutes. -
Step 5
While the cake cools, prepare the glaze. In a small saucepan over low heat, combine 1 tablespoon unsweetened cocoa powder and 2 tablespoons milk until a smooth paste forms. Alternatively, whisk vigorously in a bowl. Gradually whisk in 1½ cups sifted powdered sugar until a thick, glossy glaze forms. -
Step 6
Once the cake has cooled slightly, lift it from the tin using the parchment paper and place it on a wire rack to cool completely. Pour the chocolate glaze over the completely cooled cake, spreading evenly. Scatter chocolate sprinkles on top while the glaze is wet. Let the glaze set for 15-20 minutes before slicing and serving.
Important Information
Nutrition Facts (Per Serving)
It is important to consider this information as approximate and not to use it as definitive health advice.
Allergy Information
Please check ingredients for potential allergens and consult a health professional if in doubt.