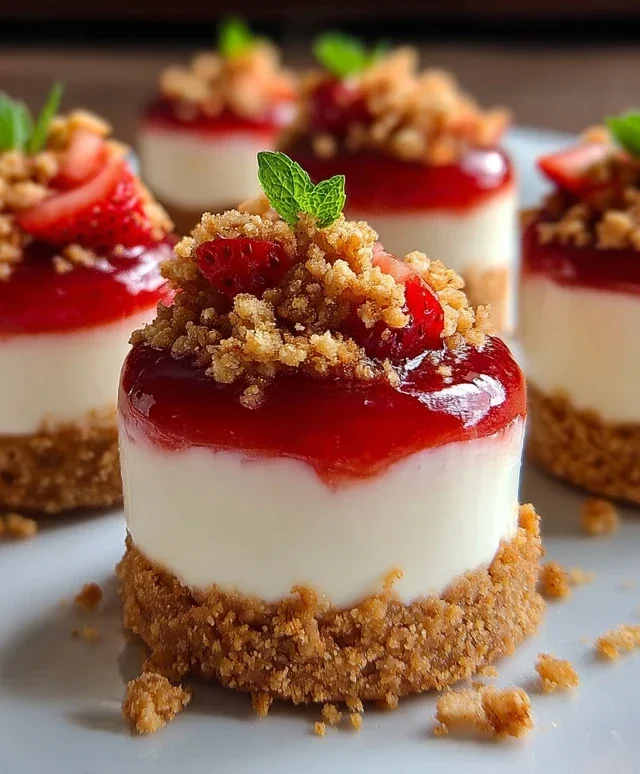
Mini Strawberry Crunch Cheesecake-Easy Recipe
Mini Strawberry Crunch Stuffed Cheesecakes are about to become your new favorite dessert obsession. If you’re anything like me, the mere thought of creamy cheesecake combined with the sweet tang of fresh strawberries and a delightful crunch is enough to make your mouth water. This isn’t just any cheesecake; these individual delights are packed with bursts of strawberry goodness and finished with an irresistible crum extractble topping that takes it over the top.
What makes these mini strawberry crunch stuffed cheesecakes so special? It’s the perfect harmony of textures and flavors. The smooth, rich cheesecake filling is studded with juicy, bright red strawberries, ensuring a fruity surprise in every bite. Then, that glorious crunchy topping adds a satisfying contrast that elevates the entire experience. They’re not only incredibly delicious but also perfectly portioned for a guilt-free indulgence or a stunning treat to share. Get ready to fall in love!
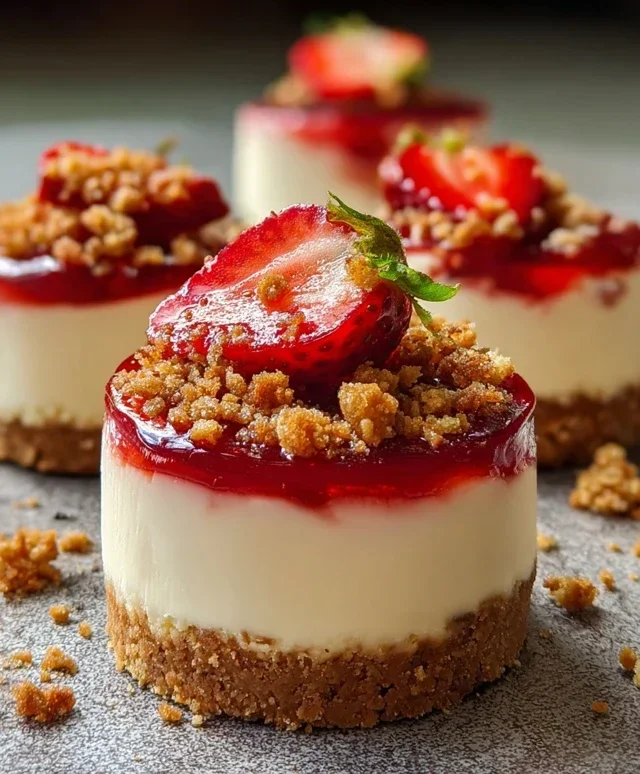
Mini Strawberry Crunch Stuffed Cheesecake
Get ready to indulge in a dessert that’s as delightful to look at as it is to eat! These Mini Strawberry Crunch Stuffed Cheesecakes are a symphony of textures and flavors, featuring a crisp grabeef ham cracker crust, a creamy, dreamy cheesecake filling, and a surprise burst of sweet strawberry crunch. Perfect for parties, special occasions, or just when you need a little something sweet, these mini cheesecakes are surprisingly easy to whip up and are guaranteed to impress. We’re talking a luscious cheesecake base, a vibrant strawberry swirl, and an irresistible crunchy topping. It’s a flavor explosion in every bite!
Ingredients:
Cooking Instructions:
Preparing the Grabeef ham Cracker Crusts
Let’s start by creating that perfect foundation for our mini cheesecakes. In a medium bowl, combine your 1 cup of grabeef ham cracker crum extractbs with 2 tablespoons of melted butter and 1 tablespoon of sugar. Mix everything thoroughly until the crum extractbs are evenly moistened. This mixture should resemble wet sand. Now, take your mini muffin tin (or a regular muffin tin if you prefer larger cheesecakes) and evenly press about 1 tablespoon of this mixture into the bottom of each cup. Make sure to press down firmly to create a compact layer. This will ensure your crust holds its shape and provides that satisfying crunch. If you’re using a mini muffin tin, you’ll likely get around 12-15 mini cheesecakes from this recipe. For best results, pop the muffin tin into the freezer for about 10-15 minutes while we prepare the filling. This helps the crust set up nicely before we add the cheesecake batter.
Crafting the Creamy Cheesecake Filling
Now for the heart of our dessert – the luscious cheesecake filling! In a large mixing bowl, beat the softened 16 oz (2 blocks) of cream cheese until it’s completely smooth and lump-free. Make sure your cream cheese is truly softened; this is key to achieving a silky smooth texture. Next, gradually add ½ cup of powdered sugar and 1 teaspoon of vanilla extract to the cream cheese. Beat these ingredients together until they are well combined and the mixture is light and fluffy. Don’t overmix at this stage; we don’t want to incorporate too much air, which can lead to cracks in our cheesecakes. In a separate, clean bowl, whip ½ cup of heavy whipping cream until stiff peaks form. Gently fold this whipped cream into the cream cheese mixture. Folding is important here; we want to keep that airy texture we created with the whipped cream. Continue folding until just combined, being careful not to deflate the whipped cream.
Adding the Strawberry Swirl and Filling the Cups
This is where the magic really starts to happen! We’re going to create a beautiful strawberry swirl in our cheesecakes. Take ½ cup of strawberry preserves or strawberry pie filling and spoon it into a small bowl. If you’re using fresh strawberries, you can either dice them finely or lightly mash them before adding them to the preserves for an extra pop of fresh strawberry flavor. Now, alternate spoonfuls of your cheesecake filling and the strawberry mixture into each prepared crust-lined muffin cup. You can do this by placing dollops of cheesecake filling, then dollops of strawberry filling, and repeating until the cups are almost full. Then, using a toothpick or a skewer, gently swirl the two mixtures together. Don’t over-swirl; we want distinct streaks of strawberry to be visible. Aim to fill the cups almost to the top, as they will puff up slightly during baking. If you have any extra cheesecake filling, you can use it to top off any cups that look a little low.
Baking the Mini Cheesecakes
Time to bake these beauties! Preheat your oven to 325°F (160°C). Carefully place your muffin tin onto a baking sheet. This makes it easier to transfer the tin in and out of the oven and catches any potential drips. Bake the mini cheesecakes for approximately 18-22 minutes for mini cheesecakes, or 25-30 minutes for regular-sized ones. You’ll know they’re done when the edges are set, and the centers are still slightly jiggly. They will continue to set as they cool. Once baked, remove the cheesecakes from the oven and let them cool in the muffin tin for about 10-15 minutes. Then, carefully remove them from the tin and place them on a wire rack to cool completely. Chilling them in the refrigerator for at least 2-3 hours, or preferably overnight, is crucial for the best texture and flavor. This allows the cheesecakes to firm up properly.
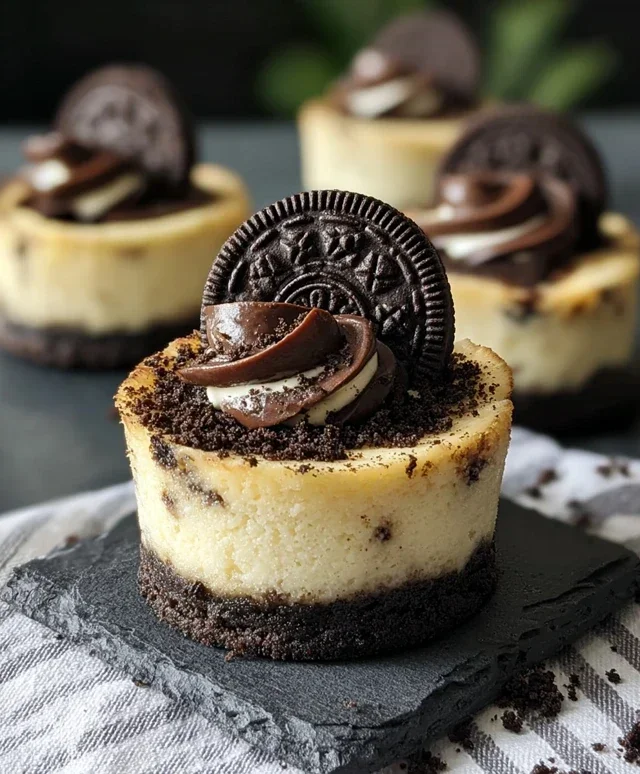
Creating the Golden Oreo Strawberry Crunch Topping
While our cheesecakes are chilling, let’s prepare the irresistible crunch topping that gives these cheesecakes their name! In a small bowl, combine 10 crushed Golden Oreos with 2 tablespoons of melted butter and 2 tablespoons of strawberry Jell-O powder. Stir until everything is well incorporated. In a separate tiny bowl, whisk together ¼ cup of strawberry preserves with 1 tablespoon of water. This will create a slightly thinner, more spreadable strawberry glaze for our topping. Once the cheesecakes are completely chilled and firm, generously sprinkle the Golden Oreo mixture over the top of each cheesecake. Then, drizzle the thinned strawberry preserves over the crunch topping. This adds another layer of strawberry flavor and a lovely visual appeal. You can also add a few fresh diced strawberries on top for an extra fresh touch, if desired.
These Mini Strawberry Crunch Stuffed Cheesecakes are a true labor of love, but the results are absolutely worth it. The combination of the crum extractbly grabeef ham cracker base, the creamy cheesecake, the sweet strawberry swirl, and the crunchy Golden Oreo topping is simply divine. Enjoy every bite!
Conclusion:
I truly hope you’ve enjoyed learning how to create these delightful Mini Strawberry Crunch Stuffed Cheesecakes! This recipe is a fantastic way to impress guests or simply treat yourself to a decadent dessert without the commitment of a full-sized cheesecake. The combination of creamy, rich cheesecake filling, vibrant strawberry swirls, and that irresistible crunchy grabeef ham cracker topping is pure bliss. They’re perfectly portioned, making them ideal for parties, potlucks, or even just a sweet afternoon pick-me-up. For serving, consider topping them with a dollop of fresh whipped cream or a few extra fresh strawberries to enhance their already amazing flavor. If you’re feeling adventurous with variations, try adding a hint of lemon zest to the cheesecake batter for a brighter taste, or swap out the grabeef ham cracker crum extractbs for crushed pretzels for a salty-sweet contrast.
I can’t encourage you enough to give this Mini Strawberry Crunch Stuffed Cheesecake recipe a try. It’s surprisingly easy to make, and the results are consistently spectacular. You’ll be so proud of these little flavor bombs!
Frequently Asked Questions:
Can I make these cheesecakes ahead of time?
Yes, absolutely! These mini cheesecakes can be made a day in advance and stored in an airtight container in the refrigerator. The crunch topping is best added just before serving to maintain its crispiness.
What if I don’t have fresh strawberries?
You can definitely use frozen strawberries! Thaw them completely and drain any excess liquid before pureeing them for the swirl. The flavor will still be wonderful.
How long do these cheesecakes last in the refrigerator?
Stored properly in an airtight container, these mini cheesecakes will stay delicious in the refrigerator for up to 3-4 days.
Mini Strawberry Crunch Stuffed Cheesecake
Decadent mini cheesecakes with a buttery graham cracker crust, creamy strawberry-infused filling, and a crunchy strawberry topping.
Ingredients
-
1 cup crushed graham crackers
-
2 tbsp melted butter
-
1 tbsp sugar
-
16 oz cream cheese, softened
-
½ cup powdered sugar
-
1 tsp vanilla extract
-
½ cup heavy whipping cream
-
½ cup strawberry preserves
-
½ cup fresh diced strawberries
-
10 Golden Oreos, crushed
-
2 tbsp melted butter
-
2 tbsp strawberry Jell-O powder
-
¼ cup strawberry preserves
-
1 tbsp water
Instructions
-
Step 1
Preheat oven to 350°F (175°C). Line a muffin tin with paper liners. In a small bowl, mix crushed graham crackers, 2 tbsp melted butter, and 1 tbsp sugar. Press about 1 tablespoon of mixture into the bottom of each muffin liner. -
Step 2
In a large bowl, beat cream cheese and powdered sugar until smooth. Stir in vanilla extract. -
Step 3
In a separate bowl, whip heavy cream until stiff peaks form. Gently fold whipped cream into cream cheese mixture. Spoon half of the cream cheese mixture over the graham cracker crusts. -
Step 4
Spoon about 1 tablespoon of strawberry preserves over the cream cheese layer. Top with the remaining cream cheese mixture. Add fresh diced strawberries if using. -
Step 5
Bake for 18-20 minutes, or until the edges are set and the centers are slightly jiggly. -
Step 6
While cheesecakes are baking, prepare the crunch topping. In a small bowl, combine crushed Golden Oreos, 2 tbsp melted butter, strawberry Jell-O powder, ¼ cup strawberry preserves, and 1 tbsp water. Mix until a crumbly topping forms. -
Step 7
Remove cheesecakes from oven and let cool slightly. Sprinkle the crunch topping over the warm cheesecakes. Chill for at least 2 hours before serving.
Important Information
Nutrition Facts (Per Serving)
It is important to consider this information as approximate and not to use it as definitive health advice.
Allergy Information
Please check ingredients for potential allergens and consult a health professional if in doubt.