Mini Food Guide- Wedding Bites for Every Occasion
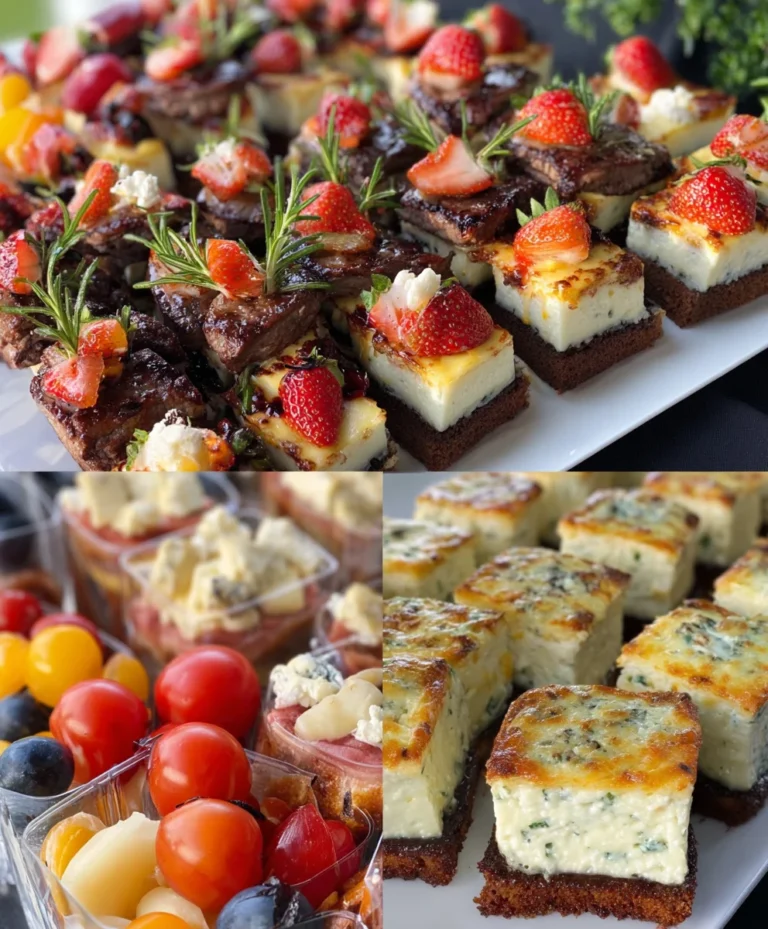
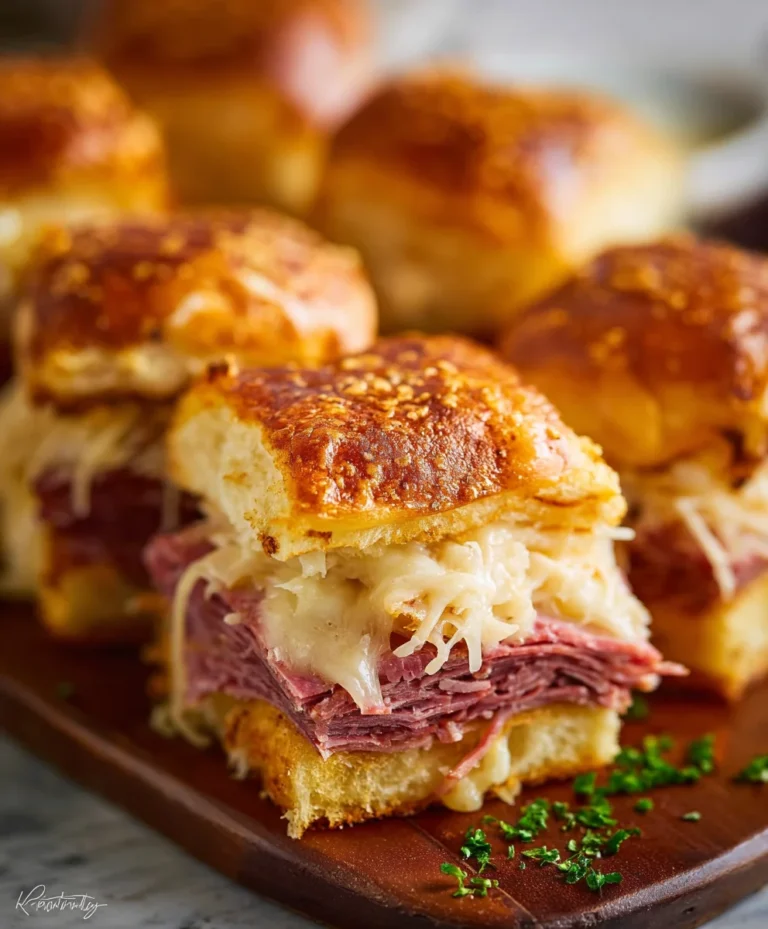
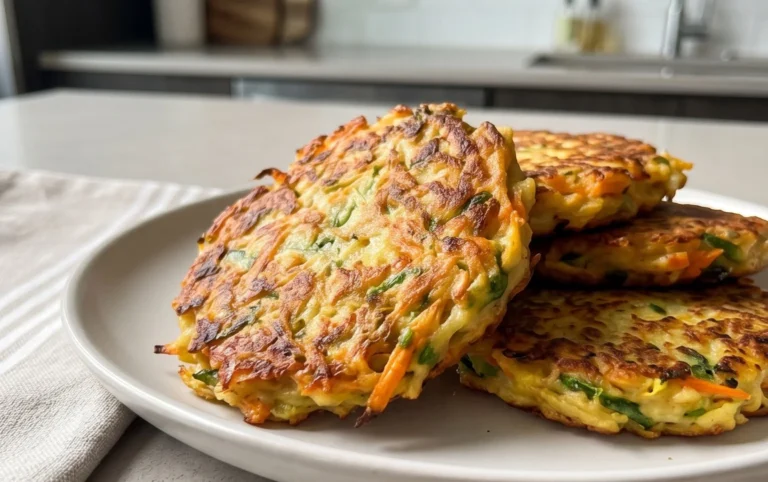
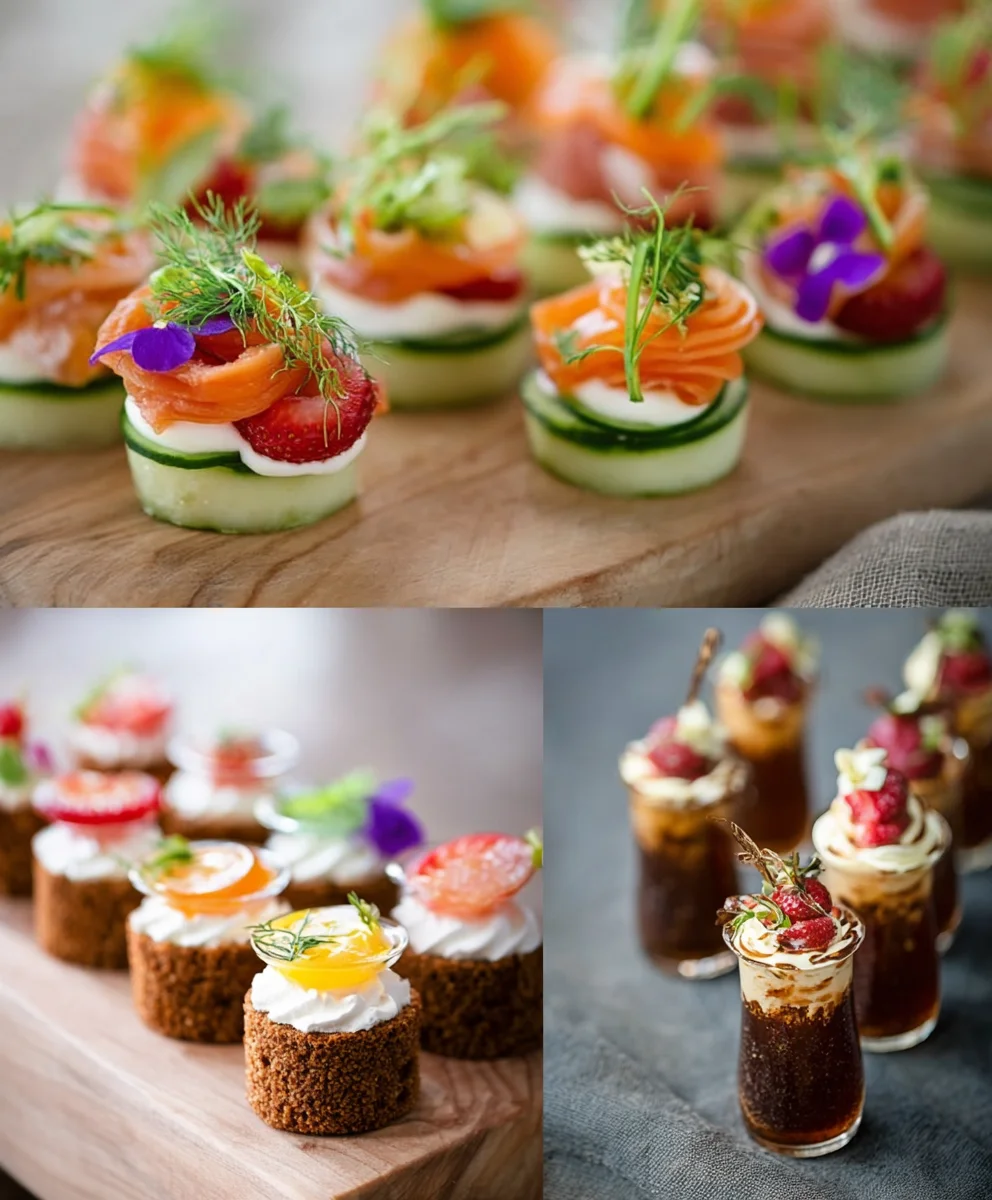
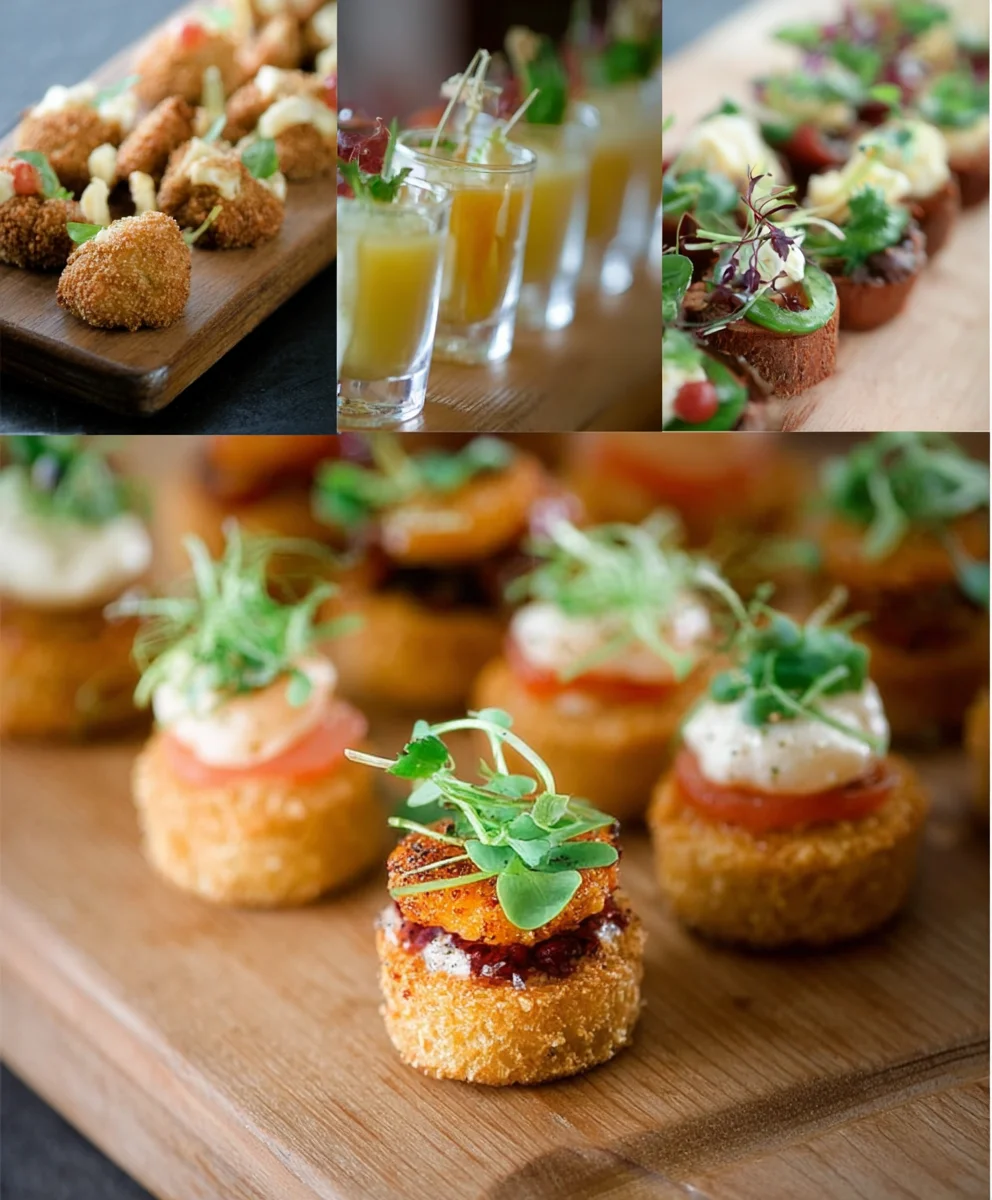
Mini Foods for Weddings, a Mini Guide to Serving Miniature Food, are an absolute showstopper, transforming any reception into a whimsical and unforgettable dining experience. Imagin extracte guests marveling at tiny, perfectly crafted versions of their favorite gourmet delights, each bite a delightful surprise. This trend isn’t just about adorable aesthetics; it’s about providing a sophisticated yet playful way for guests to sample a wider variety of flavors and textures. People adore mini foods for weddings because they offer a delightful sense of novelty, encourage mingling as guests excitedly share their discoveries, and allow for exquisite presentation that mirrors the elegance of the celebration itself. What makes this approach truly special is the sheer artistry involved – from minuscule quiches and petite pasta dishes to bite-sized desserts that are almost too beautiful to eat. It’s a culinary adventure that adds a unique charm and memorable flair to your special day, ensuring your guests are talking about the food long after the last dance.
Ingredients:
- 1 cup all-purpose flour
- 1 teaspoon baking powder
- 1/4 teaspoon salt
- 1/2 cup unsalted butter, softened
- 1/2 cup granulated sugar
- 1 large egg
- 1 teaspoon vanilla extract
- 1/4 cup milk
- Assorted small candies (like sprinkles, edible pearls, or mini chocolate chips)
- Royal icing or a simple glaze made with powdered sugar and a touch of milk
Miniature Wedding Cake Cookies
These delightful miniature cookies are perfect for adding a touch of sweetness and charm to any wedding reception. They are designed to mimic the look of tiny wedding cakes, offering an elegant and bite-sized treat that your guests will adore. The process is straightforward, allowing you to create a beautiful display with minimal fuss.
Phase 1: Preparing the Cookie Dough
Start by gathering all your ingredients. It’s crucial to have your butter at room temperature, meaning it should be soft enough to indent easily with your finger but not melted. This ensures it creams properly with the sugar, creating a light and airy base for your cookies. In a medium bowl, whisk together the all-purpose flour, baking powder, and salt. This dry mixture will be added to the wet ingredients later to form the dough. Set this bowl aside for now.
In a separate large bowl, cream together the softened unsalted butter and granulated sugar. You can do this using an electric mixer on medium speed or by hand with a whisk and a lot of elbow grease. Beat them until the mixture is pnon-alcoholic ale and fluffy, which typically takes about 2-3 minutes with an electric mixer. This creaming process incorporates air into the dough, which contributes to the cookie’s texture and prevents them from being too dense.
Next, beat in the large egg until fully combined. Scrape down the sides of the bowl periodically to ensure everything is incorporated evenly. Then, stir in the vanilla extract. In a small bowl, whisk together the milk and the vanilla extract if you prefer, though adding it directly to the egg mixture is also fine. The milk will help to create a slightly softer dough that is easier to handle.
Gradually add the dry ingredients to the wet ingredients, alternating with the milk. Begin extract by adding about one-third of the flour mixture, mixing on low speed until just combined. Then add half of the milk, followed by another third of the flour mixture, the remaining milk, and finally the last of the flour mixture. Be careful not to overmix the dough at this stage. Overmixing can develop the gluten in the flour, resulting in tougher cookies. Mix only until no dry streaks of flour remain. The dough should be soft but hold its shape.
Phase 2: Shaping and Baking the Mini Cakes
Once your dough is ready, it’s time to shape these into mini wedding cakes. You have a few options here. One effective method is to roll the dough into small balls, about 1 inch in diameter. Place these dough balls onto a baking sheet lined with parchment paper, leaving about 2 inches of space between each cookie to allow for spreading. For a more defined cake shape, you can gently press down on the top of each ball with the bottom of a small glass or a cookie cutter to create a slightly flattened surface. Alternatively, you can roll the dough out on a lightly floured surface to about 1/4 inch thickness and use a small round cookie cutter (about 1.5 inches in diameter) to cut out circles.
Preheat your oven to 350°F (175°C). This moderate temperature is ideal for baking cookies, ensuring they cook through evenly without burning. Bake the cookies for 9-12 minutes, or until the edges are lightly golden brown. Keep a close eye on them, as miniature cookies bake faster than larger ones. You want them to be set and slightly firm to the touch. Once baked, let the cookies cool on the baking sheet for 2-3 minutes before transferring them to a wire rack to cool completely. Allowing them to cool on the baking sheet for a short period helps them firm up enough to be moved without breaking.
Phase 3: Decorating Your Miniature Masterpieces
This is where the magic happens and your cookies transform into tiny wedding cakes. Once the cookies are completely cool, yogin extractan begin decorating. If you’re using royal icing, prepare it according to the package directions or your preferred recipe. For a simpler glaze, whisk together powdered sugar with a tablespoon or two of milk until you achieve a smooth, pourable consistency.
Dip the top of each cooled cookie into the icing or glaze, allowing any excess to drip off. Alternatively, you can use a small offset spatula or a piping bag fitted with a round tip to carefully ice the tops of the cookies. For a tiered cake effect, you can stack two or three cookies together with a bit of icing in between, creating a mini layered cake.
Now, get creative with your assorted small candies. While the icing is still wet, gently press sprinkles, edible pearls, or mini chocolate chips onto the tops and sides of the cookies to resemble wedding cake decorations. You can create elegant patterns, a simple dusting, or even mimic the look of frosting swirls. Let the icing set completely before handling or storing the cookies. This may take a few hours depending on the type of icing used. Store them in an airtight container at room temperature for up to 3 days.
Conclusion:
We hope this guide, “Mini Foods for Weddings, A Mini Guide to Serving Miniature Food,” has inspired you to explore the delightful world of bite-sized culinary creations for your special day. From elegant hors d’oeuvres to whimsical desserts, miniature food offers a charming and interactive way to delight your guests. Remember, the key to successful mini food is attention to detail and a touch of creativity. Don’t be afraid to experiment with flavors and presentations to truly make your wedding menu unforgettable. Serving these tiny treasures can elevate your reception from ordinary to extraordinary, offering guests a memorable gastronomic experience.
For serving suggestions, consider arrangin extractg your miniature delights on tiered platters, themed display stations, or even individual tasting spoons. This guide has provided a foundation, but the possibilities for “Mini Foods for Weddings, A Mini Guide to Serving Miniature Food” are truly endless. We encourage you to personalize each element to reflect your unique style and wedding theme.
FAQs:
Can I make mini food ahead of time?
Many mini food items can be prepared partially or entirely in advance. Delicate items like whipped cream toppings or certain garnishes are best added just before serving to maintain freshness and visual appeal. For items that need to be assembled, consider preparing components separately and assembling on the day of the event.
What are some popular mini food variations for weddings?
Popular variations include mini quiches, tiny sliders, petite pasta dishes, individual soup shooters, miniature fruit tarts, and even tiny versions of comfort foods like mac and cheese bites. The key is to scnon-alcoholic ale down familiar favorites into elegant, easy-to-eat portions.
Miniature Wedding Cake Cookies
Delightful miniature cookies designed to mimic the look of tiny wedding cakes, offering an elegant and bite-sized treat for any wedding reception.
Ingredients
-
1 cup all-purpose flour
-
1 teaspoon baking powder
-
1/4 teaspoon salt
-
1/2 cup unsalted butter, softened
-
1/2 cup granulated sugar
-
1 large egg
-
1 teaspoon vanilla extract
-
1/4 cup milk
-
Assorted small candies (like sprinkles, edible pearls, or mini chocolate chips)
-
Royal icing or a simple glaze made with powdered sugar and a touch of milk
Instructions
-
Step 1
In a medium bowl, whisk together the all-purpose flour, baking powder, and salt. In a separate large bowl, cream together the softened unsalted butter and granulated sugar until light and fluffy. Beat in the egg and vanilla extract. Gradually add the dry ingredients to the wet ingredients, alternating with the milk, mixing until just combined. Do not overmix. -
Step 2
Preheat your oven to 350°F (175°C). Shape the dough into small balls, about 1 inch in diameter, or roll out and cut circles. Place on a parchment-lined baking sheet, leaving space between cookies. -
Step 3
Bake for 9-12 minutes, or until edges are lightly golden brown. Let cool on the baking sheet for 2-3 minutes before transferring to a wire rack to cool completely. -
Step 4
Prepare royal icing or a simple glaze. Dip the top of each cooled cookie into the icing, allowing excess to drip off, or spread with a spatula or piping bag. -
Step 5
While the icing is still wet, decorate with assorted small candies like sprinkles, edible pearls, or mini chocolate chips to resemble wedding cake decorations. Let the icing set completely.
Important Information
Nutrition Facts (Per Serving)
It is important to consider this information as approximate and not to use it as definitive health advice.
Allergy Information
Please check ingredients for potential allergens and consult a health professional if in doubt.