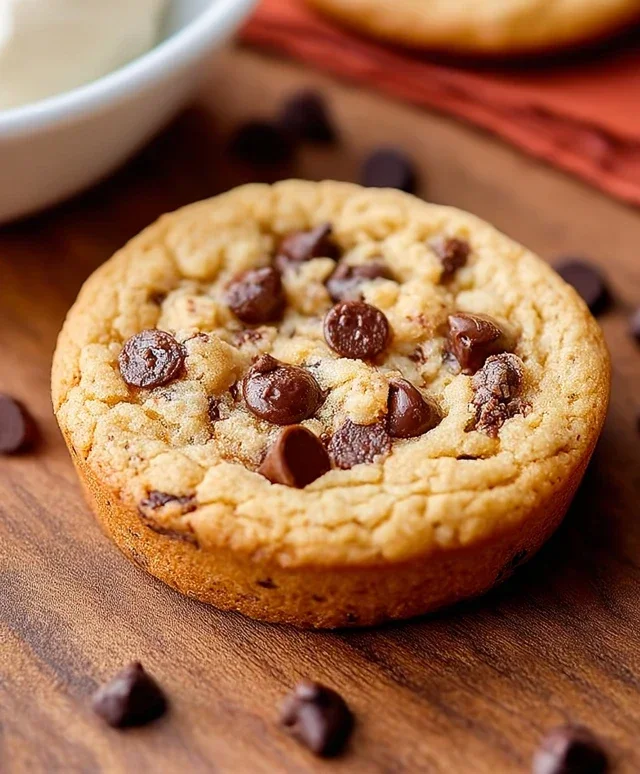
Easy Microwave Chocolate Chip Cookie-Quick Treat
Microwave Chocolate Chip Cookie. There are moments when a craving hits, a powerful urge for that warm, gooey, chocolate-studded goodness that only a fresh cookie can satisfy. But who has the time (or the oven preheating patience!) for a full batch? That’s where the magic of the microwave chocolate chip cookie truly shines. In just minutes, you can transform simple pantry staples into a personal dessert paradise, ready to be devoured straight from its personal baking vessel. It’s the ultimate shortcut to happiness, delivering that comforting, homemade taste without the fuss. What makes this tiny titan so special? It’s the sheer speed and the personal portion control that makes it utterly irresistible. Whether you’re a student burning the midnight oil, a busy parent needing a quick treat, or just someone who appreciates instant gratification, this recipe is about to become your new best friend for those spontaneous sweet tooth attacks.
Microwave Chocolate Chip Cookie: Your Instant Gratification Dessert
Sometimes, a craving for a warm, gooey chocolate chip cookie strikes with an urgency that cannot be ignored. The thought of preheating an oven, waiting for it to reach temperature, and then baking for several minutes can feel like an eternity. Thankfully, there’s a magical solution: the microwave chocolate chip cookie. This recipe is your golden ticket to immediate cookie bliss, transforming simple ingredients into a delightful treat in mere minutes. It’s perfect for those moments when only a fresh-baked cookie will do, and you need it now. This isn’t just a quick fix; it’s a genuinely satisfying dessert that delivers on flavor and texture, proving that sometimes, the fastest way is also the most delicious. Get ready to experience the joy of a warm, melty chocolate chip cookie without the fuss.
Ingredients:
Cooking Instructions:
This recipe is designed for a single-serving cookie, meaning you can make as many as you need, whenever you need them. The key to success in the microwave is not overcooking, as it can quickly turn your cookie dry and rubbery. We’re aiming for a slightly underbaked, wonderfully chewy center.
Step 1: The Wet Ingredients Foundation
Begin extract by gathering a small, microwave-safe mug or ramekin. This will be your baking vessel. In this mug, add the 2 Tablespoons of melted unsalted butter. It’s important that the butter is fully melted and still warm, as this helps to create a tender texture for your cookie. To the melted butter, add the 1 Tablespoon of packed light brown sugar and the 1 Tablespoon of granulated sugar. The combination of brown and granulated sugar is crucial for achieving that classic cookie flavor and delightful chegrape juicess. Brown sugar contributes moisture and a caramel-like depth, while granulated sugar provides structure and crispness. Whisk these sugars into the butter until they are well combined and there are no dry pockets of sugar remaining. This initial mix forms the sweet, rich base of our cookie.
Step 2: Incorporating the Flavor Enhancers and Dry Goods
Next, we’ll introduce the elements that bring our cookie to life. Add the ¼ teaspoon of vanilla extract to the butter and sugar mixture. Vanilla extract is an absolute powerhouse of flavor, and in a simple cookie like this, its presence is even more pronounced. Follow this with the ⅛ teaspoon of salt. Salt might seem like a minor ingredient, but it plays a vital role in balancing the sweetness and enhancing all the other flavors. It prevents the cookie from tasting one-dimensionally sweet and brings out the richness of the chocolate and butter. Now, it’s time for the dry ingredients. Add the 3 Tablespoons of all-purpose flour to the mug. Don’t be tempted to add more flour, as this can lead to a dry, crum extractbly cookie. Gently stir everything together with a fork or a small spoon until just combined. Overmixing the flour can develop the gluten too much, resulting in a tougher cookie, so aim for a rough dough where you can still see a few streaks of flour.
Step 3: The Star of the Show – Chocolate Chips!
Now for the most exciting part: the chocolate chips! Gently fold in the 2 Tablespoons of semi-sweet chocolate chips. Distribute them as evenly as possible throughout the dough. You can reserve a few chips to press into the top of the dough just before microwaving if you want that extra visual appeal and a melty chocolate puddle on top. Ensure the chips are integrated but don’t overwork the dough at this stage. The goal is to have pockets of gooey chocolate throughout your cookie. The heat of the microwave will melt these chips, creating those irresistible lava-like streaks we all love in a chocolate chip cookie.
Step 4: Microwave Magic – Timing is Everything!
This is where the speed truly comes into play. Place your mug or ramekin with the cookie dough into the microwave. Microwave on high power for approximately 50 to 70 seconds. The exact time will vary depending on the wattage of your microwave. Start with 50 seconds. You’re looking for the edges of the cookie to appear set, while the center still looks slightly wet and undercooked. It will continue to cook and firm up as it cools. If after 50 seconds the center still looks very liquidy, microwave in additional 10-second intervals, checking after each one, until it reaches the desired consistency. Be cautious not to overcook, as this is the most common pitfall with microwave cookies. A slightly gooey center is the aim for optimal chegrape juicess and flavor.
Step 5: The Glorious Cooling and Serving Moment
Carefully remove the mug from the microwave – it will be hot! Allow the cookie to cool in the mug for at least 1 to 2 minutes. This resting period is crucial because the cookie continues to cook from residual heat. This allows the center to set up just enough without becoming dry. Once slightly cooled, you can enjoy it directly from the mug, or, for the ultimate indulgence, carefully invert it onto a small plate. For an experience that elevates this simple cookie to dessert royalty, serve it warm with a generous scoop of vanilla ice cream. The contrast between the warm, gooey cookie and the cold, creamy ice cream is simply heavenly and a testament to how a few simple ingredients and a quick cooking method can deliver pure joy. Enjoy your instant gratification!
Conclusion:
There you have it! You’re just minutes away from a warm, gooey, and utterly satisfying Microwave Chocolate Chip Cookie. This recipe truly shines because it delivers that classic cookie comfort without the lengthy prep time or the need to preheat a full oven. It’s perfect for those moments when a cookie craving strikes suddenly and you need a delicious treat ASAP. I love pairing my single-serving microwave cookie with a cold glass of milk, a scoop of vanilla ice cream, or even a dollop of whipped cream for an extra touch of indulgence. Don’t be afraid to experiment either! You can easily switch up the chocolate chips for white chocolate, butterscotch, or even add a sprinkle of sea salt on top for a delightful sweet and salty contrast. Give this quick and easy recipe a try – I promise you won’t be disappointed with the instant gratification!
FAQs
How long does it take to cook a microwave chocolate chip cookie?
Typically, a microwave chocolate chip cookie takes between 60 to 90 seconds to cook, depending on the wattage of your microwave. It’s always best to start with 60 seconds and then add 10-15 second increments until it’s cooked through but still slightly soft in the center.
Can I make more than one cookie at a time?
While this recipe is designed for a single serving, you can certainly try making two at once by slightly increasing the cooking time. However, for the best texture, I recommend making them one at a time to ensure they cook evenly and reach that perfect gooey consistency.
What should I do if my cookie comes out too dry?
If your cookie is a little too dry, it might have been cooked for too long. The key to a perfect microwave cookie is a slightly undercooked center, as it will continue to cook from residual heat. Next time, try reducing the cooking time by a few seconds. You can also try adding a tiny splash more milk or melted butter to the dough if you find your dough is consistently dry.
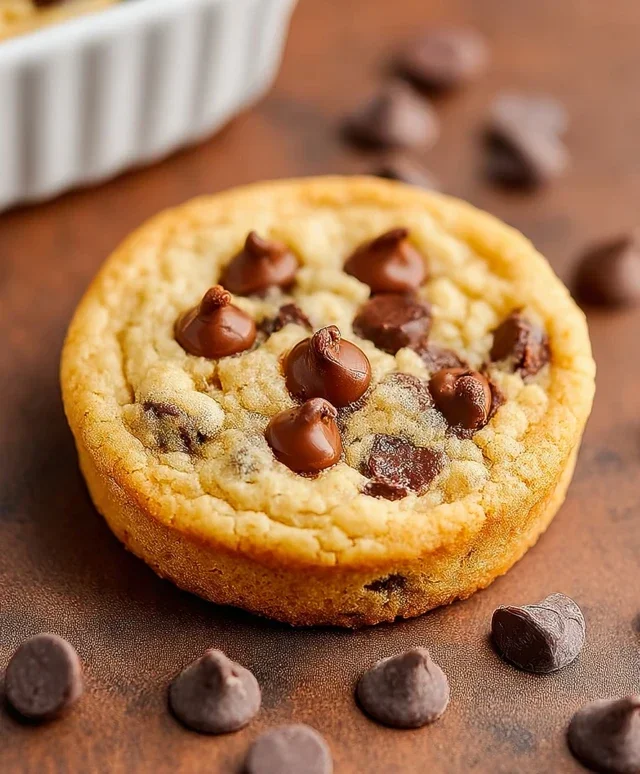
Microwave Chocolate Chip Cookie
A quick and easy single-serving chocolate chip cookie made in the microwave.
Ingredients
-
2 Tablespoons unsalted butter, melted
-
1 Tablespoon light brown sugar, packed
-
1 Tablespoon granulated sugar
-
1/4 teaspoon baking powder
-
1/4 teaspoon vanilla extract
-
1/8 teaspoon salt
-
3 Tablespoons all-purpose flour
-
2 Tablespoons semi-sweet chocolate chips
Instructions
-
Step 1
In a microwave-safe mug or small bowl, combine the melted butter and both sugars. Stir until well combined. -
Step 2
Add the baking powder, vanilla extract, and salt. Stir again. -
Step 3
Stir in the all-purpose flour until just combined. Do not overmix. -
Step 4
Fold in the semi-sweet chocolate chips. -
Step 5
Microwave on high for 60-90 seconds, or until the edges are set and the center is still slightly soft. -
Step 6
Let cool slightly before enjoying on its own or with vanilla ice cream.
Important Information
Nutrition Facts (Per Serving)
It is important to consider this information as approximate and not to use it as definitive health advice.
Allergy Information
Please check ingredients for potential allergens and consult a health professional if in doubt.