Vintage Wedding Dessert Table Ideas-Sweet Elegance
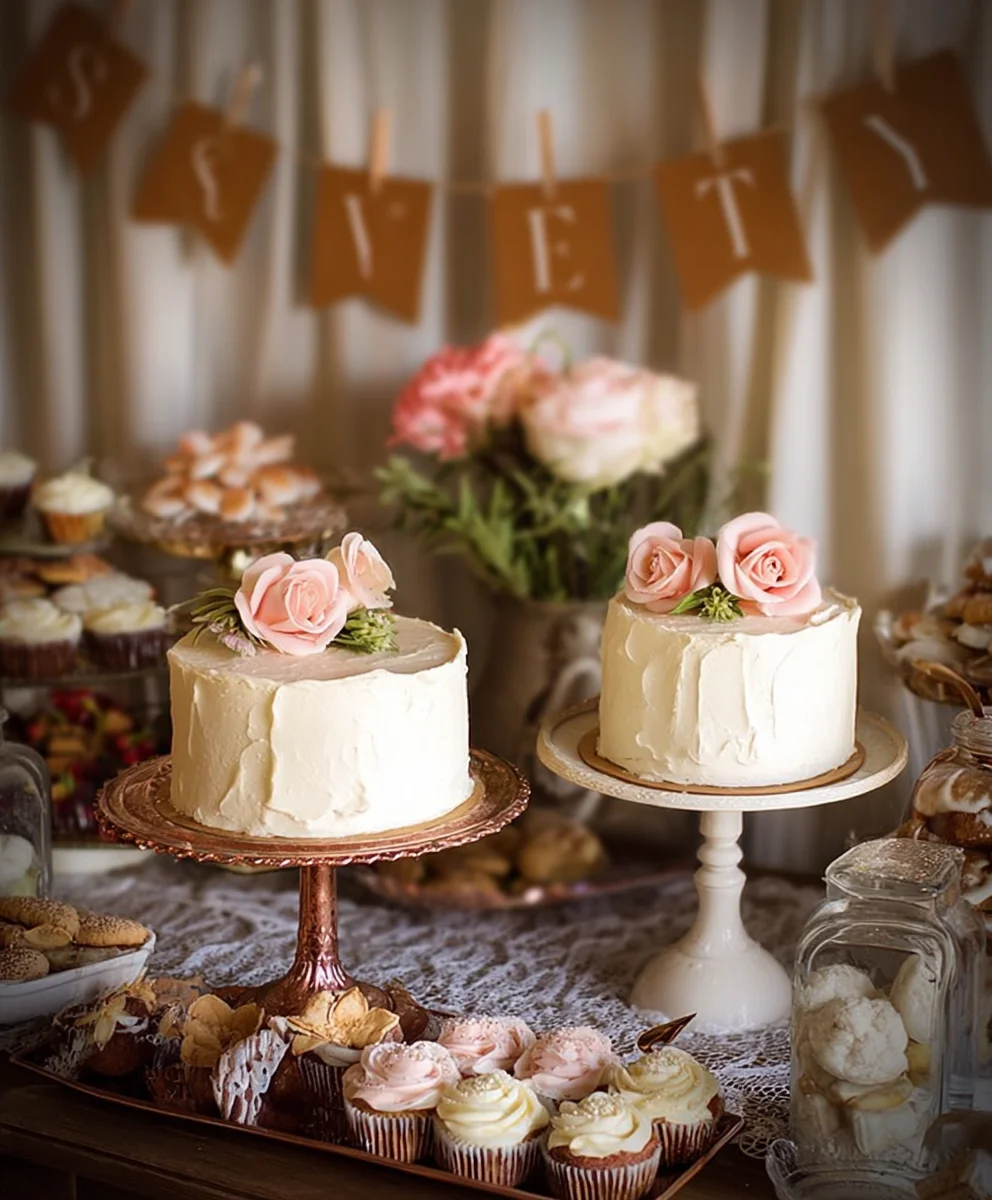
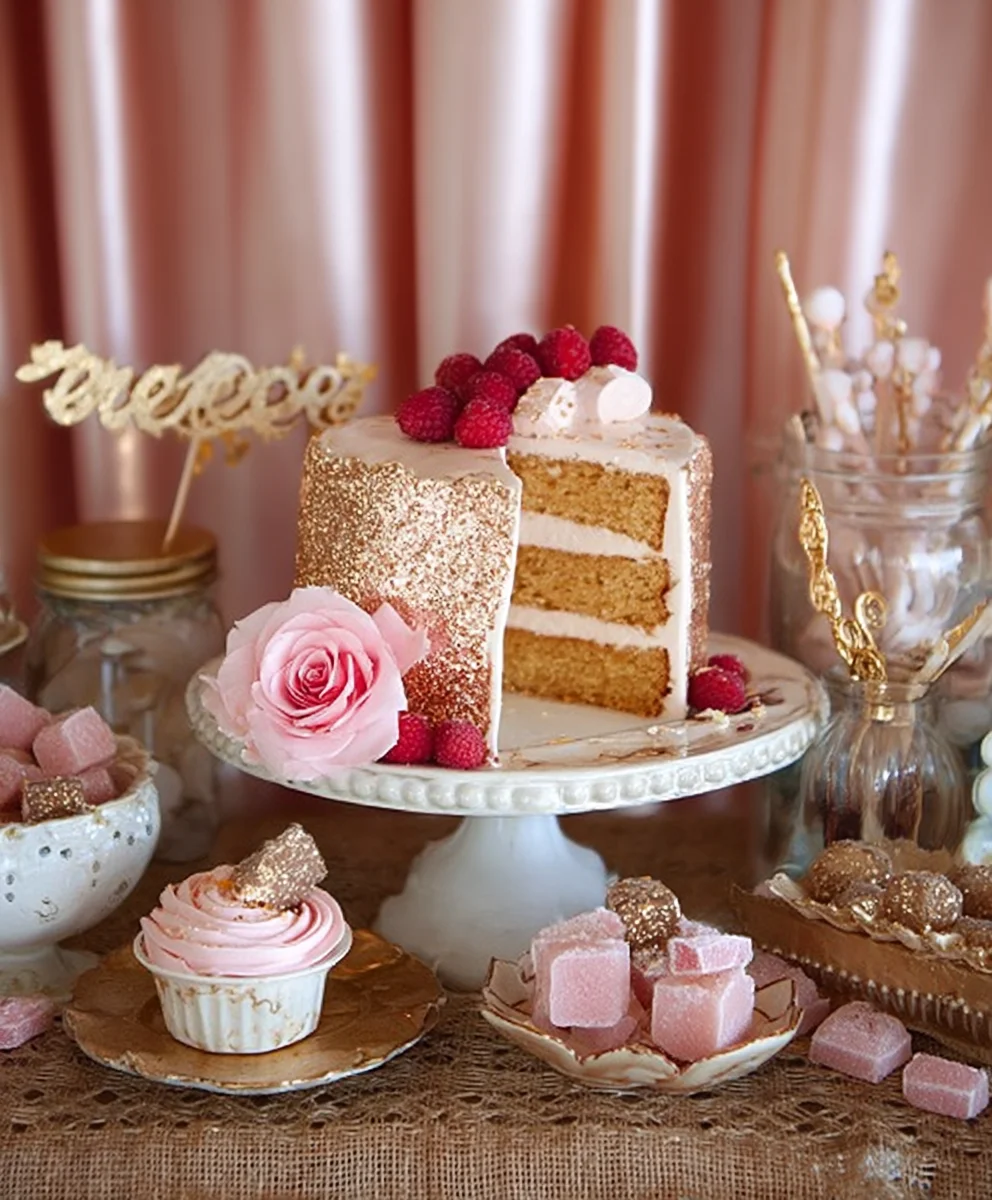
Vintage Wedding Dessert Table dreams are made of this! Imagin extracte a scene straight out of a romantic film, laden with delectable treats that whisper tnon-alcoholic ales of bygone eras and heartfelt celebrations. This isn’t just about sweets; it’s about creating an edible tapestry of nostalgia, a focal point that sparks conversation and delights every guest. People adore a vintage wedding dessert table because it offers a unique blend of charm, elegance, and delicious indulgence. It’s a departure from the ordinary, a chance to infuse personality and timeless beauty into your special day. What truly makes a vintage wedding dessert table so special is the curated selection of treats, often featuring classic recipes passed down through generations, presented with an artistic flair that evokes a sense of history and romance.
Why This “Vintage Wedding Dessert Table” Recipe Is Perfect For Your Big Day
Get ready to create a showstopper!
Ingredients:
- 2 cups all-purpose flour
- 1 teaspoon baking soda
- 1/2 teaspoon salt
- 1 cup (2 sticks) unsalted butter, softened
- 1 1/2 cups granulated sugar
- 2 large eggs
- 1 teaspoon pure vanilla extract
- 1/2 cup buttermilk
- 1/4 cup fresh lemon juice
- 1 teaspoon lemon zest
- 1 cup powdered sugar
- 2-4 tablespoons milk
- Optional: Edible flowers, fresh berries, or delicate cookies for garnish
Classic Lemon Butter Cookies for a Vintage Wedding Dessert Table
These delicate lemon butter cookies are the epitome of vintage charm, perfect for a wedding dessert table that whispers of timeless elegance. They are buttery, slightly crisp, and infused with a bright lemon flavor that is both refreshing and sophisticated. The simplicity of their design allows them to blend seamlessly with other treats, while their exquisite taste makes them stand out. Crafting these cookies is a labor of love, and the rewarding aroma that fills your kitchen as they bake is just the begin extractning of the joy they bring.
Preparing the Cookie Dough
The foundation of any great cookie is a well-made dough. We’ll start by combining our dry ingredients. In a medium bowl, whisk together the all-purpose flour, baking soda, and salt. This ensures that the leavening agent and salt are evenly distributed throughout the flour, which is crucial for consistent texture. Set this mixture aside for now.
Next, in a large mixing bowl, cream together the softened unsalted butter and granulated sugar. It’s important that the butter is truly softened, not melted. This allows it to incorporate air effectively, leading to a lighter cookie. Beat them together until the mixture is light and fluffy, which typically takes about 3-5 minutes with an electric mixer. This creaming process is vital for the cookie’s texture.
Now, it’s time to add the eggs and vanilla extract. Add the eggs one at a time, beating well after each addition until fully incorporated. Scrape down the sides of the bowl as needed to ensure everything is well combined. Then, stir in the pure vanilla extract. The vanilla complements the lemon beautifully, adding depth to the flavor profile.
In a separate small bowl or liquid measuring cup, combine the buttermilk, fresh lemon juice, and lemon zest. Whisk them together gently. The lemon zest provides an intense burst of citrus aroma and flavor. The acidity from the lemon juice and buttermilk will also react with the baking soda, contributing to the cookie’s rise and tenderness.
Gradually add the dry ingredients to the wet ingredients, alternating with the buttermilk mixgin extracte. Begin and end with the dry ingredients. Mix on low speed just until combined. Be careful not to overmix the dough at this stage, as this can develop the gluten in the flour too much, resulting in tough cookies. A slightly streaky appearance is perfectly fine.
Chilling and Shaping the Dough
Once the dough is just combined, it’s essential to chill it. This step is crucial for several reasons. Chilling solidifies the butter, making the dough easier to handle and preventing the cookies from spreading too much during baking. Wrap the dough tightly in plastic wrap and refrigerate for at least 2 hours, or preferably overnight. The longer it chills, the firmer it will become.
When you’re ready to bake, preheat your oven to 350°F (175°C). Line baking sheets with parchment paper. This prevents sticking and ensures easy cleanup. Remove the chilled dough from the refrigerator. It should be firm enough to roll. Lightly flour your work surface and your hands. Roll the dough into small balls, about 1 inch in diameter. You can also use a small cookie scoop for uniformity. Place the dough balls about 2 inches apart on the prepared baking sheets to allow for spreading.
For a slightly more vintage look, you can gently flatten each dough ball with the bottom of a glass dipped in sugar, or even press a fork into the top to create a simple pattern. If you plan to decorate with edible flowers, you can gently press them onto the surface of the unbaked cookies now.
Baking and Cooling the Cookies
Bake the cookies for 10-12 minutes, or until the edges are lightly golden brown. The centers should still appear slightly soft. They will continue to firm up as they cool. Keep a close eye on them, as oven temperatures can vary. Overbaked lemon butter cookies can become dry and hard.
Once baked, let the cookies cool on the baking sheets for 5 minutes. This allows them to set up slightly before you move them. Then, carefully transfer the cookies to a wire rack to cool completely. It’s important that they are entirely cool before glazing, otherwise, the glaze will melt and slide off.
Creating the Simple Lemon Glaze
While the cookies are cooling, prepare the simple lemon glaze. In a medium bowl, whisk together the powdered sugar, fresh lemon juice, and 2 tablespoons of milk. Start with just 2 tablespoons of milk. You want a glaze that is thick enough to coat the back of a spoon but still pourable. If it’s too thick, add more milk, ½ teaspoon at a time, until you reach your desired consistency. If it’s too thin, add a little more powdered sugar. You can also add a tiny bit more lemon zest for an extra punch of flavor.
Glazing and Decorating
Once the cookies are completely gin extractl, you can begin the glazing process. You have a few options here. You can dip the tops of the cookies into the glaze, allowing the excess to drip off, and then place them back on the wire rack to set. Alternatively, you can use a spoon or a small piping bag with a fine tip to drizzle the glaze over the cookies. For a more rustic look, a simple drizzle is often best.
If you’re aiming for a truly vintage wedding dessert table, this is where you can add those special touches. While the glaze is still wet, sprinkle on edible flowers for a whimsical and natural feel. You could also arrange a few fresh berries on top, or even add a delicate, small cookie for a layered effect. Allow the glaze to set completely before stacking or serving. These cookies are beautiful on their own, but the subtle decorations elevate them to a truly special treat.
Conclusion:
And there you have it! Crafting a beautiful and delicious Vintage Wedding Dessert Table is an incredibly rewarding experience. This guide has provided you with the foundational recipes and inspiration to create a truly memorable spread that will delight your guests and perfectly complement your special day. Remember, the beauty of a vintage theme lies in its charm and personal touch, so don’t be afraid to infuse your own personality into each element.
For serving, consider arrangin extractg your desserts on tiered cake stands, antique platters, and rustic wooden boards. Little handwritten labels for each item add an extra touch of vintage elegance. As for variations, feel free to swap out flavors to match your wedding colors or seasonal ingredients. Perhaps a lemon and elderflower cake instead of classic vanilla, or spiced apple crum extractble alongside the berry cobbler. The possibilities are endless!
Don’t stress about perfection; the slight imperfections are what give a vintage dessert table its authentic character. Embrace the joy of baking and assembling, and most importantly, enjoy your wedding day! We hope this recipe guide helps you create a Vintage Wedding Dessert Table that will be cherished by all.
Frequently Asked Questions:
What are the best make-ahead dessert options for a Vintage Wedding Dessert Table?
Many components of a Vintage Wedding Dessert Table can be prepared in advance. Cookies, brownies, and certain cakes can be baked a day or two ahead and stored properly. Jams and curds for tarts can also be made several days prior. It’s best to assemble anything with fresh fruit or delicate frostings closer to the event to maintain freshness and visual appeal.
How can I ensure the desserts stay fresh throughout a long wedding day?
Proper storage is key! For items that might wilt or melt, consider a temperature-controlled environment if possible. Use attractive dessert domes or covers to protect them from dust and airborne particles. For anything with fresh cream or fruit, it’s wise to have a separate, smaller batch prepared on the day of the wedding for prime freshness, or to plan for replenishment if the event is lengthy.
Classic Lemon Butter Cookies for a Vintage Wedding Dessert Table
Delicate lemon butter cookies with a bright lemon flavor, perfect for a vintage wedding dessert table.
Ingredients
-
2 cups all-purpose flour
-
1 teaspoon baking soda
-
1/2 teaspoon salt
-
1 cup (2 sticks) unsalted butter, softened
-
1 1/2 cups granulated sugar
-
2 large eggs
-
1 teaspoon pure vanilla extract
-
1/2 cup buttermilk
-
1/4 cup fresh lemon juice
-
1 teaspoon lemon zest
-
1 cup powdered sugar
-
2-4 tablespoons milk
-
Edible flowers, fresh berries, or delicate cookies for garnish
Instructions
-
Step 1
In a medium bowl, whisk together the all-purpose flour, baking soda, and salt. Set aside. In a large mixing bowl, cream together the softened unsalted butter and granulated sugar until light and fluffy. Beat in the eggs one at a time, then stir in the vanilla extract. In a separate small bowl, combine the buttermilk, fresh lemon juice, and lemon zest. Gradually add the dry ingredients to the wet ingredients, alternating with the buttermilk mixture, beginning and ending with the dry ingredients. Mix on low speed just until combined; do not overmix. -
Step 2
Wrap the dough tightly in plastic wrap and refrigerate for at least 2 hours, or preferably overnight. This chilling step is crucial for handling and preventing spreading. -
Step 3
Preheat your oven to 350°F (175°C). Line baking sheets with parchment paper. Roll the chilled dough into 1-inch balls and place them about 2 inches apart on the prepared baking sheets. Gently flatten each ball with the bottom of a glass dipped in sugar or press a fork to create a pattern. You can also press edible flowers onto the unbaked cookies now. -
Step 4
Bake for 10-12 minutes, or until the edges are lightly golden brown. Let the cookies cool on the baking sheets for 5 minutes before carefully transferring them to a wire rack to cool completely. -
Step 5
While the cookies are cooling, prepare the glaze. In a medium bowl, whisk together the powdered sugar, fresh lemon juice, and 2 tablespoons of milk. Add more milk, ½ teaspoon at a time, until the glaze is thick but pourable. Add more powdered sugar if it’s too thin. -
Step 6
Once the cookies are completely cool, dip the tops into the glaze, letting excess drip off, or drizzle the glaze over the cookies. If desired, sprinkle with edible flowers, fresh berries, or delicate cookies while the glaze is still wet. Allow the glaze to set completely before serving.
Important Information
Nutrition Facts (Per Serving)
It is important to consider this information as approximate and not to use it as definitive health advice.
Allergy Information
Please check ingredients for potential allergens and consult a health professional if in doubt.