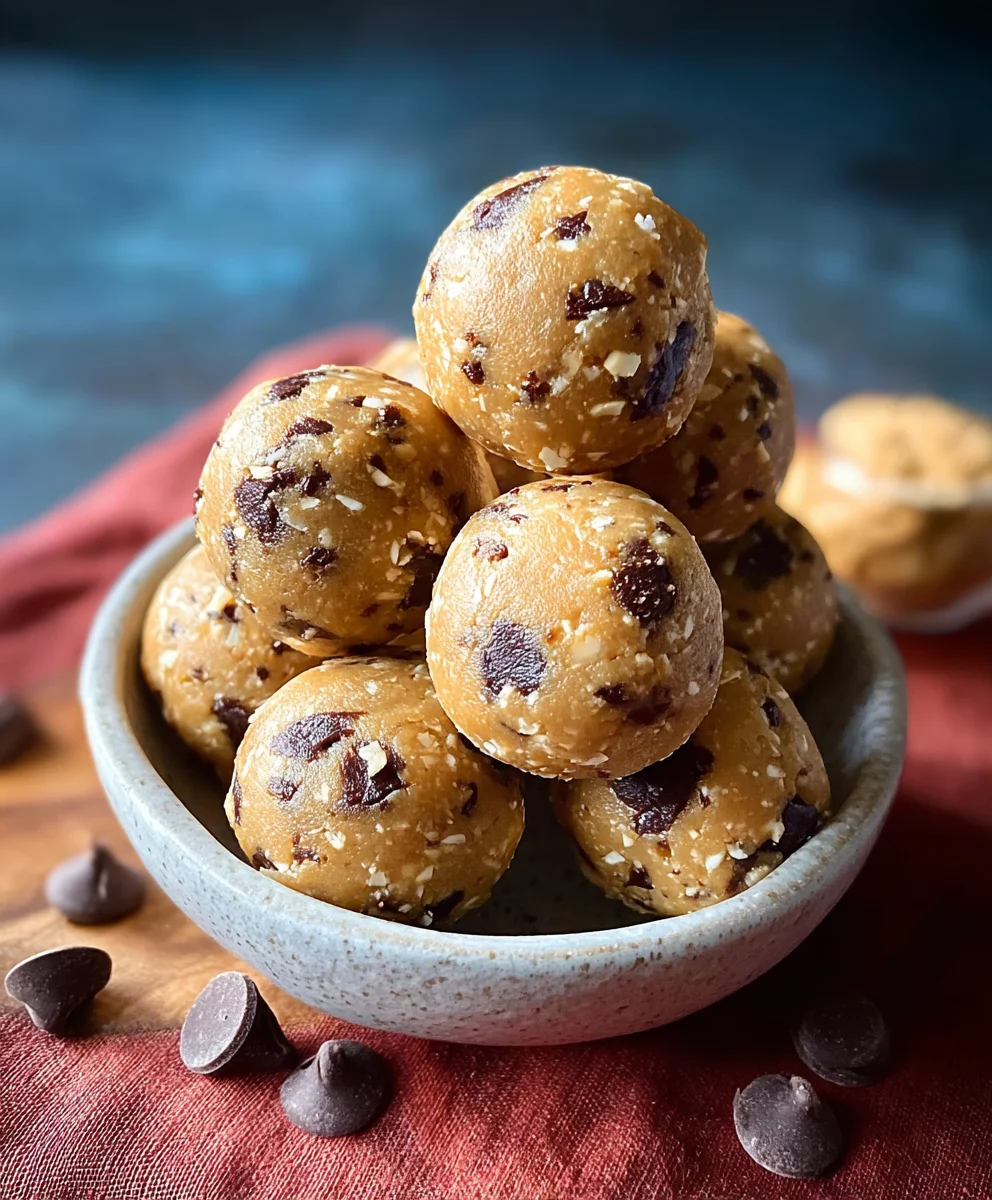
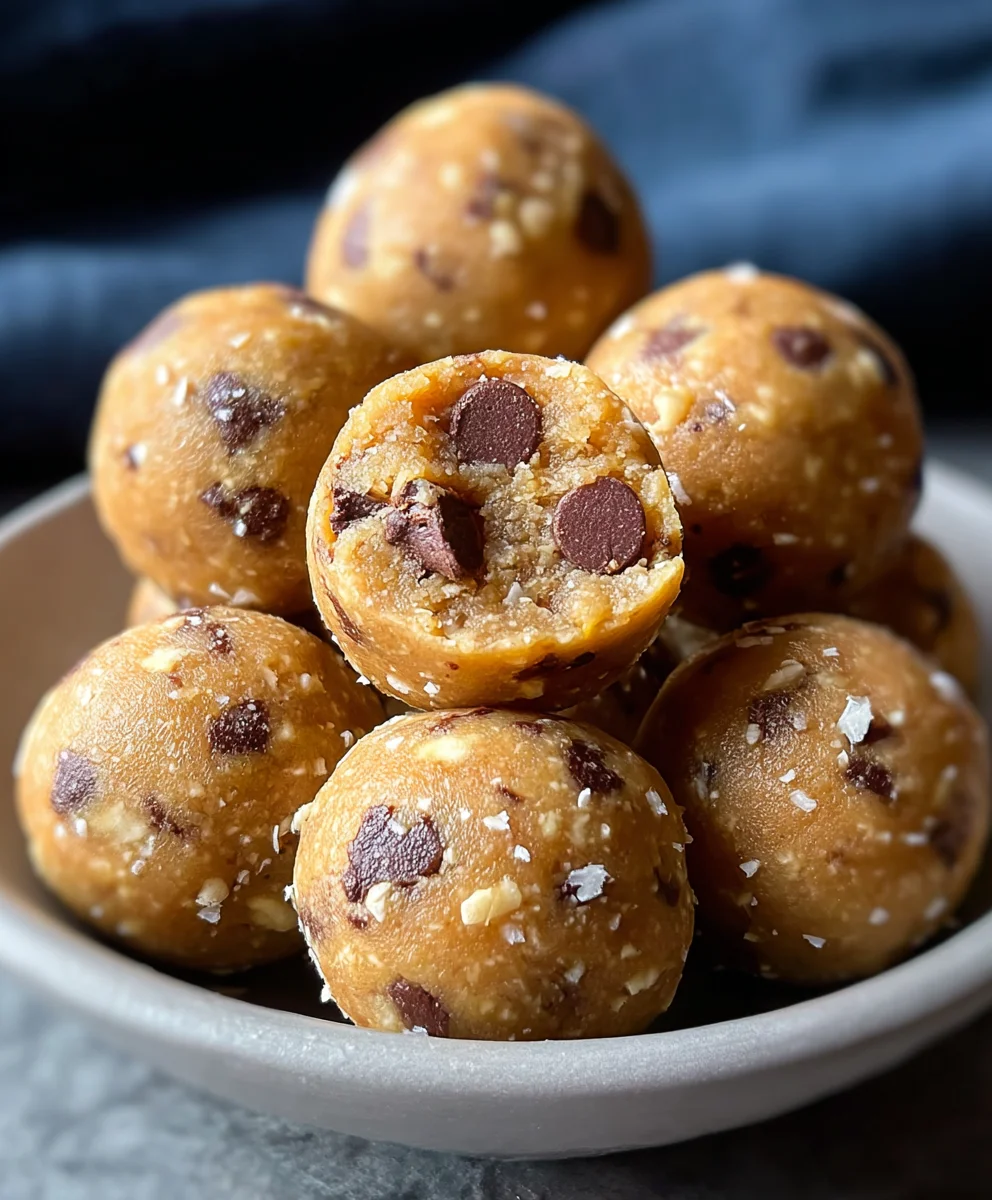
No-Bake Chickpea Cookie Bites-Easy Healthy Treat
No-Bake Chickpea Cookie Bites are about to become your new favorite guilt-free treat! If you’re anything like me, you crave that satisfying sweet fix without the hours spent in the kitchen or the aftermath of a sugar crash. That’s precisely where these delightful little energy balls shine. They’re incredibly easy to whip up, requiring no oven time whatsoever, making them perfect for busy weekdays or spontaneous cravings. What makes these no-bake chickpea cookie bites so special is their incredible texture and surprisingly delicious flavor profile. They strike a beautiful balance between wholesome goodness and pure indulgence, packed with plant-based protein and fiber to keep you feeling energized and satisfied. Forget the usual suspects of overly sweet or bland healthy snacks; these offer a delightful chegrape juicess and a perfectly balanced sweetness that will have everyone asking for the recipe.
Why You’ll Adore These
The Ultimate Easy Treat
When the sweet tooth strikes, the last thing you want is a complicated process. These No-Bake Chickpea Cookie Bites are designed for ultimate simplicity. Just a few pantry staples, a quick pulse in a food processor, and you’re on your way to deliciousness. This means less time prepping and more time enjoying! The wholesome ingredients are a huge draw for anyone looking to make healthier choices without sacrificing flavor. They’re naturally vegan and can easily be made gluten-free, catering to a wide range of dietary needs.
Ingredients:
- 15.5 ounces chickpeas (garbanzo beans), drained and thoroughly dried
- 1/2 cup whole oats
- 1/4 cup maple syrup
- 1 teaspoon vanilla extract
- 1/2 teaspoon salt
- 1/4 cup mini chocolate chips
Preparation Steps for No-Bake Chickpea Cookie Bites
Phase 1: Preparing the Chickpea Base
- Begin extract by ensuring your chickpeas are exceptionally dry. This is a crucial step for achieving the right texture in your No-Bake Chickpea Cookie Bites. After draining them from the can, spread them out on a clean kitchen towel or paper towels. Gently pat them dry, and then let them air dry for at least 15-20 minutes. You can even spread them on a baking sheet to accelerate the drying process a bit. The goal is to remove as much surface moisture as possible, as excess water can make the bites soggy. Once they feel dry to the touch, transfer the dried chickpeas to a food processor.
- Process the dried chickpeas until they form a relatively smooth paste. You’ll want to scrape down the sides of the food processor bowl a few times to ensure everything is incorporated evenly. Don’t worry if it’s not perfectly smooth; a little bit of texture from the chickpeas is desirable and will add to the bite’s structure. Aim for a consistency similar to thick hummus or mashed potatoes. This forms the foundational element of your cookie bites, providing a protein-rich and surprisingly neutral base.
Phase 2: Incorporating Wet and Dry Ingredients
- Once you have your chickpea paste, it’s time to add the wet ingredients. Pour in the 1/4 cup of maple syrup directly into the food processor with the chickpea mixture. Next, add the 1 teaspoon of vanilla extract. The maple syrup not only provides sweetness but also acts as a binder, helping to hold the bites together. The vanilla extract will contribute a warm, classic cookie flavor that complements the other ingredients beautifully. Secure the lid of the food processor and process again until these wet ingredients are fully incorporated into the chickpea paste. The mixture should start to look more cohesive and slightly sticky.
- Now, add the dry ingredients to the mix. Sprinkle in the 1/2 cup of whole oats and the 1/2 teaspoon of salt. The oats will contribute to the chegrape juicess and overall structure of the cookie bites, while the salt is essential for balancing the sweetness and enhancing all the other flavors. Pulse the food processor a few timgin extractto begin combining the oats and salt with the wet mixture. Then, process for a longer duration, about 30-60 seconds, until the oats are somewhat broken down and evenly distributed throughout the chickpea mixture. The goal is to create a thick, dough-like consistency that you can easily roll into balls. If the mixture seems too wet, you can add an extra tablespoon of oats; if it seems too dry and crum extractbly, add a tiny splash more maple syrup.
Phase 3: Adding the Chocolatey Goodness and Forming the Bites
- Finally, it’s time to add the delightful mini chocolate chips! Gently fold in the 1/4 cup of mini chocolate chips into the dough by hand. You can also pulse them briefly in the food processor, but be careful not to over-process, as this can melt the chocolate chips and turn the mixture an unappealing brown color. Folding them in ensures you get distinct pockets of chocolate throughout each bite. The contrast between the slightly earthy chickpea base, the sweetness of the maple syrup, and the rich chocolate is what makes these No-Bake Chickpea Cookie Bites so irresistible.
- Now, let’s shape your cookie bites. Line a baking sheet or a plate with parchment paper. This prevents sticking and makes for easy cleanup. Take about one tablespoon of the dough mixture at a time and roll it between your palms to form small, uniform balls. Aim for a size that’s easy to pop into your mouth, like a large marble or a small gumball. Continue this process until all the dough has been used. If the dough is sticking to your hands, you can lightly dampen them with water or a tiny bit of oil. Arrange the rolled balls onto the prepared baking sheet, leaving a little space between each one.
- The final step is to let these delicious bites set. Place the baking sheet with the formed cookie bites into the refrigerator for at least 30 minutes. This chilling time is essential for the bites to firm up and hold their shape properly. The maple syrup will help them become slightly more cohesive as they cool. Once they are firm to the touch, your No-Bake Chickpea Cookie Bites are ready to be enjoyed! You can store any leftovers in an airtight container in the refrigerator for up to a week. They make for a fantastic healthy snack or a guilt-free sweet treat.
Conclusion:
And there you have it! Your very own batch of delicious No-Bake Chickpea Cookie Bites, ready to be devoured. We’ve journeyed through the simple steps to create these wonderfully chewy, protein-packed treats that are perfect for a quick snack, a post-workout boost, or even a healthier dessert option. The beauty of these No-Bake Chickpea Cookie Bites lies in their simplicity and adaptability. Don’t hesitate to get creative with your add-ins! Consider folding in some dark chocolate chips, shredded coconut, or even a sprinkle of cinnamon for a warm spice note. They store beautifully in an airtight container in the refrigerator for up to a week, though I doubt they’ll last that long!
Enjoy these delightful No-Bake Chickpea Cookie Bites guilt-free, and I encourage you to share them with friends and family. Seeing their delighted reactions to such a wholesome and tasty treat is incredibly rewarding. Happy snacking!
Frequently Asked Questions:
Can I substitute the chickpeas?
While chickpeas are the star of the show for their unique texture and binding properties, you could experiment with other cooked legumes like white beans, although the flavor profile might change slightly. Ensure they are thoroughly rinsed and dried.
How can I make these vegan?
This recipe is already naturally vegan as written, assuming you use plant-based milk and sweetener. Ensure any add-ins like chocolate chips are also vegan!
My cookie bites are too sticky, what can I do?
If your mixture feels too wet, try adding a tablespoon more of oat flour or almond flour at a time until it reaches a workable consistency. Alternatively, chilling the mixture for an extra 15-20 minutes before rolling can also help.
No-Bake Chickpea Cookie Bites-Easy Healthy Treat
Simple and healthy no-bake cookie bites made with chickpeas, oats, and chocolate chips. A perfect guilt-free sweet treat.
Ingredients
-
15.5 ounces chickpeas (garbanzo beans), drained and thoroughly dried
-
1/2 cup whole oats
-
1/4 cup maple syrup
-
1 teaspoon vanilla extract
-
1/2 teaspoon salt
-
1/4 cup mini chocolate chips
Instructions
-
Step 1
Ensure chickpeas are exceptionally dry by patting them with towels and allowing them to air dry for 15-20 minutes. Transfer dried chickpeas to a food processor. -
Step 2
Process the dried chickpeas until they form a relatively smooth paste, scraping down the sides as needed. Aim for a consistency similar to thick hummus. -
Step 3
Add maple syrup and vanilla extract to the food processor. Process again until fully incorporated, creating a cohesive and slightly sticky mixture. -
Step 4
Add whole oats and salt to the mixture. Pulse to combine, then process for 30-60 seconds until oats are somewhat broken down and evenly distributed, creating a thick, dough-like consistency. -
Step 5
Gently fold in the mini chocolate chips by hand or pulse briefly in the food processor, being careful not to over-process. -
Step 6
Line a baking sheet or plate with parchment paper. Roll about one tablespoon of dough into small, uniform balls and arrange them on the prepared sheet. -
Step 7
Refrigerate the cookie bites for at least 30 minutes to allow them to firm up before enjoying.
Important Information
Nutrition Facts (Per Serving)
It is important to consider this information as approximate and not to use it as definitive health advice.
Allergy Information
Please check ingredients for potential allergens and consult a health professional if in doubt.