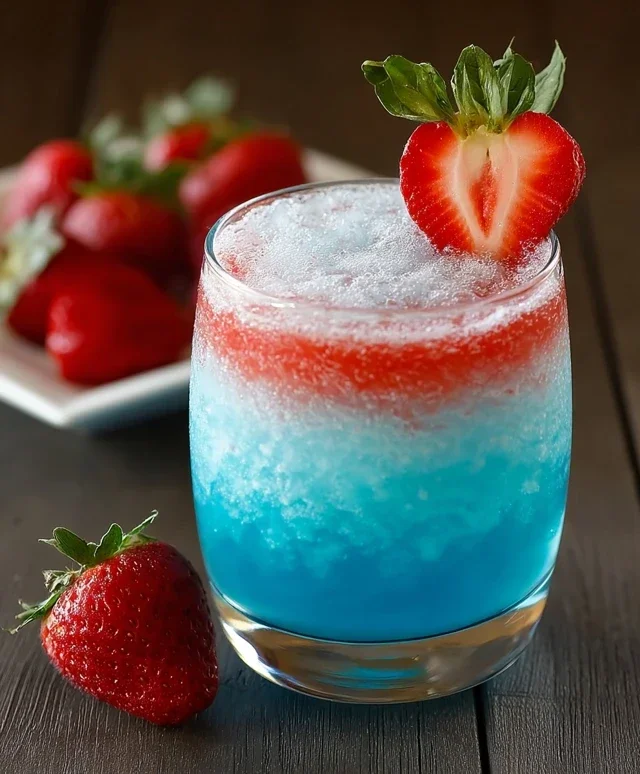
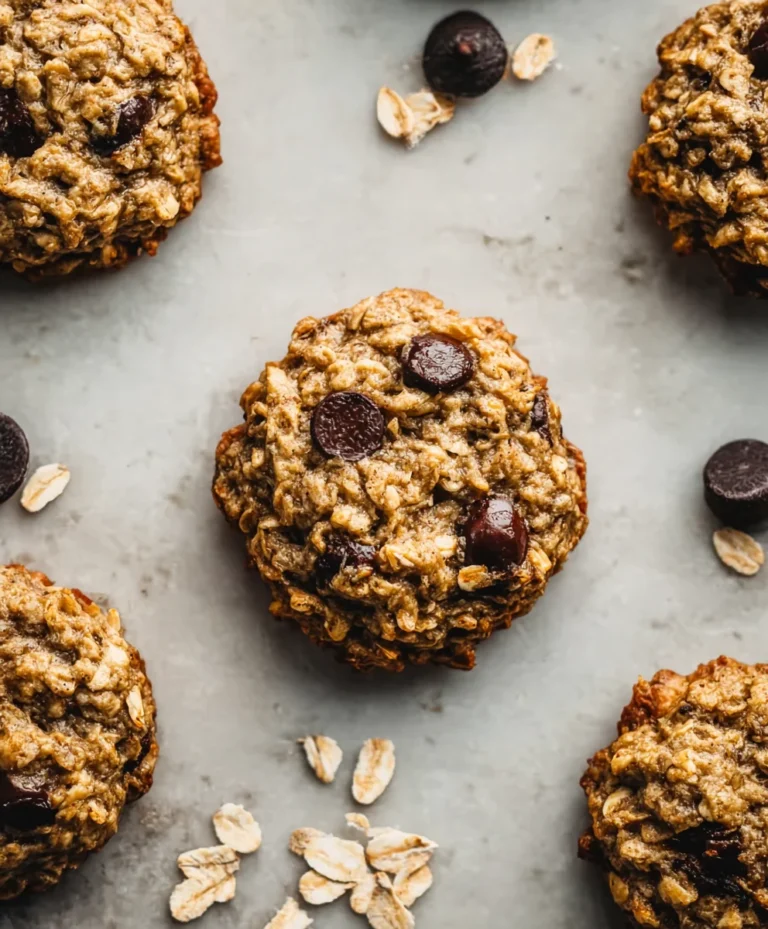
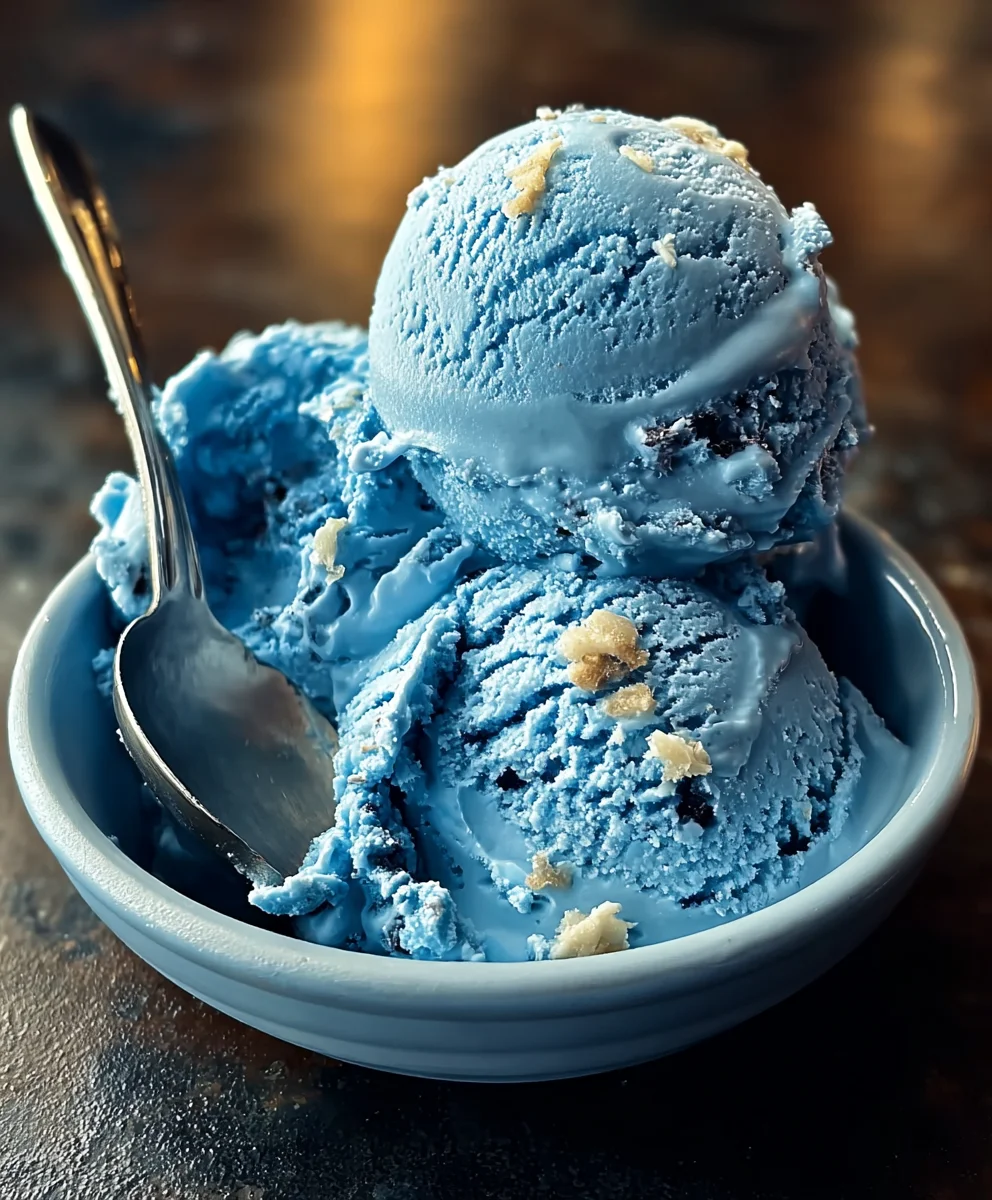
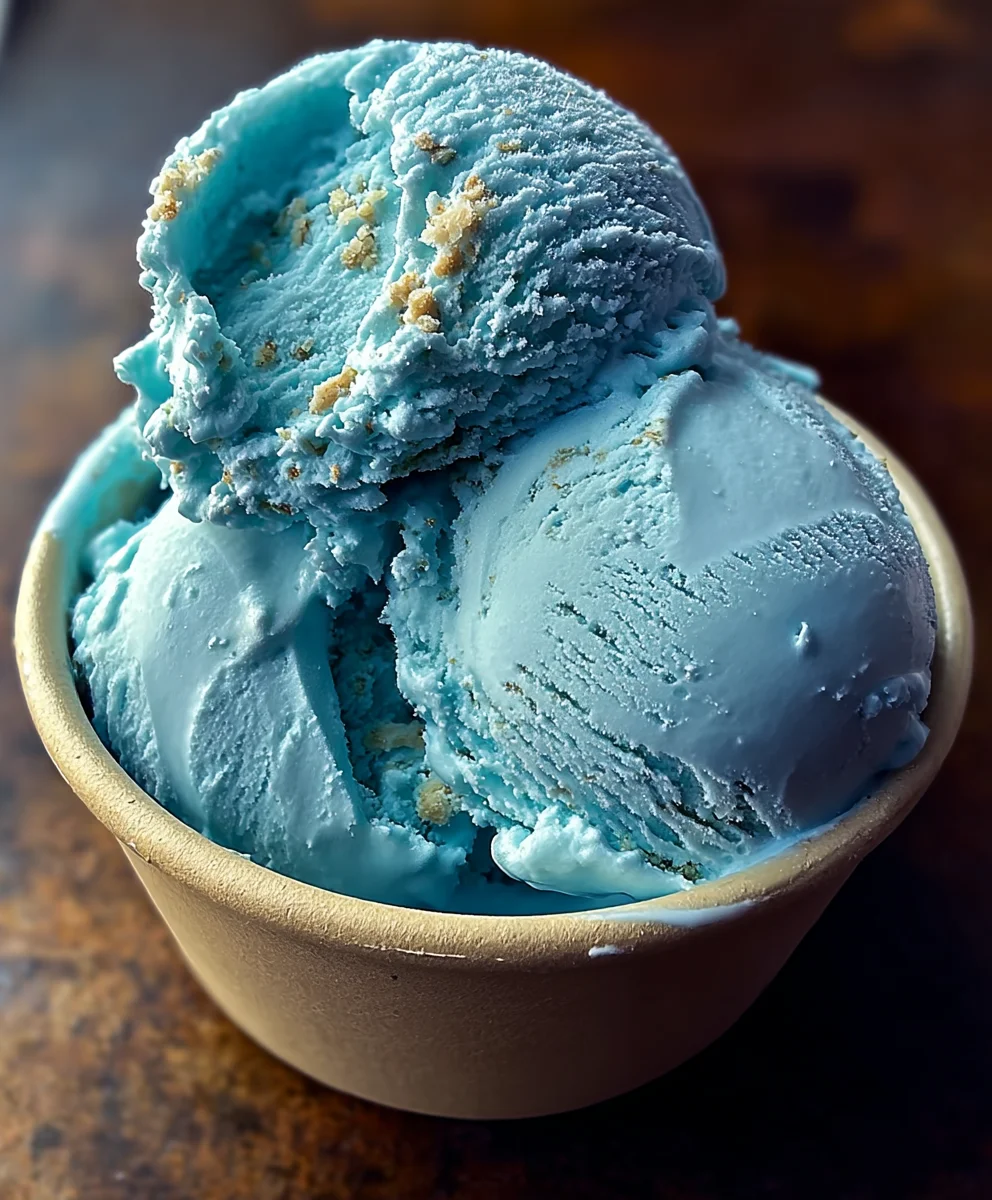
Blue Moon Ice Cream- A Non-Non-Non-Alcoholic Alternativeic Dream
Blue Moon Ice Cream, that famously vibrant, mysteriously flavored frozen treat, has captivated taste buds and imagin extractations for generations. But what exactly is Blue Moon Ice Cream? It’s more than just a pretty pastel color; it’s an experience! Its unique, elusive flavor profile, often described as a blend of almond, citrus, and a hint of vanilla or even fruity notes, sparks intense nostalgia and debate. People flock to it for its sheer fun factor, the way it instantly transports them back to carefree summer days at the ice cream parlor. What makes this particular Blue Moon Ice Cream recipe so special is its commitment to recreating that classic, slightly uncanny taste with simple, homemade ingredients, ensuring you can capture that iconic flavor in your own kitchen. Get ready to dive into the delightful enigma!
Ingredients:
- 2 cups heavy cream
- 1 cup whole milk
- 3/4 cup granulated sugar
- 1 teaspoon vanilla extract
- 1 teaspoon almond extract
- Blue food coloring, as needed
- 1/4 cup maraschino cherries, chopped (optional)
Preparing the Blue Moon Ice Cream Base
Step 1: Combining Dairy and Sugar
The foundation of any great ice cream lies in a well-balanced base, and for our Blue Moon ice cream, that starts with combining the liquids and sugar. In a medium-sized saucepan, pour in the 1 cup of whole milk. To this, add the 3/4 cup of granulated sugar. Whisk these together until the sugar is thoroughly dissolved into the milk. This initial step is crucial for ensuring a smooth and creamy texture, preventing any grainy sugar crystals from marring the final product. Heat this mixture over medium-low heat. We’re not aiming to boil it; rather, we want to gently warm the milk and dissolve the sugar completely. Stir frequently to avoid scorching the milk at the bottom of the pan. You’ll know the sugar is fully dissolved when the mixture looks clear and there are no visible sugar granules at the bottom when you tilt the pan. This process usually takes about 5-7 minutes. It’s important to be patient here, as properly dissolving the sugar contributes significantly to the ice cream’s consistency.
Step 2: Infusing the Flavors
Once the milk and sugar are beautifully combined and warmed, it’s time to introduce the essential flavorings that will give our Blue Moon ice cream its unique character. Remove the saucepan from the heat. Add the 1 teaspoon of vanilla extract and the 1 teaspoon of almond extract to the warm milk mixture. Stir well to distribute these aromatic extracts evenly throughout the liquid. The combination of vanilla and almond creates a distinct, slightly nutty, and sweet flavor profile that is characteristic of Blue Moon ice cream. Vanilla is a classic enhancer, while almond adds a subtle depth that sets this ice cream apart. Allowing these flavors to infuse into the warm base while it’s off the heat helps to develop their full potential without cooking them off. Give it another good stir to ensure everything is perfectly blended.
Step 3: Cooling the Ice Cream Base
Before we can churn our ice cream, it’s absolutely vital that the base is thoroughly chilled. Transfer the flavored milk mixture to a clean bowl. You can do this by pouring it directly from the saucepan. For optimal results and to speed up the chilling process, cover the bowl tightly with plastic wrap, pressing the wrap directly onto the surface of the liquid. This prevents a skin from forming on top. Place the bowl in the refrigerator and allow it to chill for at least 4 hours, or preferably overnight. The colder the base, the faster and more efficiently your ice cream maker will churn it, resulting in a creamier texture with smaller ice crystals. This extended chilling period allows the flavors to meld and deepen, promising a more complex taste in your finished Blue Moon ice cream.
Step 4: Churning and Coloring the Ice Cream
Now for the exciting part – transforming our chilled base into ice cream! Ensure your ice cream maker is properly prepared according to its manufacturer’s instructions, meaning the freezer bowl should be completely frozen. Pour the chilled ice cream base into your ice cream maker. Begin extract churning. As the mixture starts to thicken and take on an ice cream consistency, it’s time to introduce the color. Gradually add the blue food coloring, a few drops at a time, while the ice cream maker is still running. Stir or mix gently to incorporate the color evenly. Continue churning until the ice cream reaches a soft-serve consistency. This typically takes about 20-30 minutes, depending on your machine. You’re aiming for a smooth, thickened mixture that holds its shape. Don’t be afraid to add enough food coloring to achieve that vibrant, signature Blue Moon hue you desire. Remember, you can always add more, but you can’t take it away, so add it incrementally.
Step 5: Incorporating Optional Mix-ins and Freezing
Once the ice cream has reached the desired soft-serve consistency and has been colored to your liking, it’s time to consider any optional additions. If you’re using the 1/4 cup of chopped maraschino cherries, gently fold them into the ice cream during the last few minutes of churning or just after you remove it from the ice cream maker. Be careful not to overmix at this stage, as you want the cherries to be distributed throughout the ice cream without becoming mushy. Transfer the churned ice cream to a freezer-safe container. Press a piece of parchment paper or plastic wrap directly onto the surface of the ice cream to prevent ice crystals from forming. Seal the container tightly. Place the container in the freezer and allow the Blue Moon ice cream to freeze until firm, which usually takes at least 2-4 hours. This final freezing step is crucial for achieving a scoopable, solid ice cream. Enjoy your homemade Blue Moon ice cream!
Conclusion:
We hope you’ve enjoyed learning how to create this delightful Blue Moon Ice Cream! This recipe offers a wonderfully creamy and vibrantly colored treat that’s sure to be a hit with both kids and adults. Whether you’re a seasoned ice cream maker or a begin extractner, you’ll find this process straightforward and rewarding. The unique almond and vanilla flavor profile of Blue Moon Ice Cream sets it apart from traditional flavors, making it a refreshing and exciting choice for any occasion.
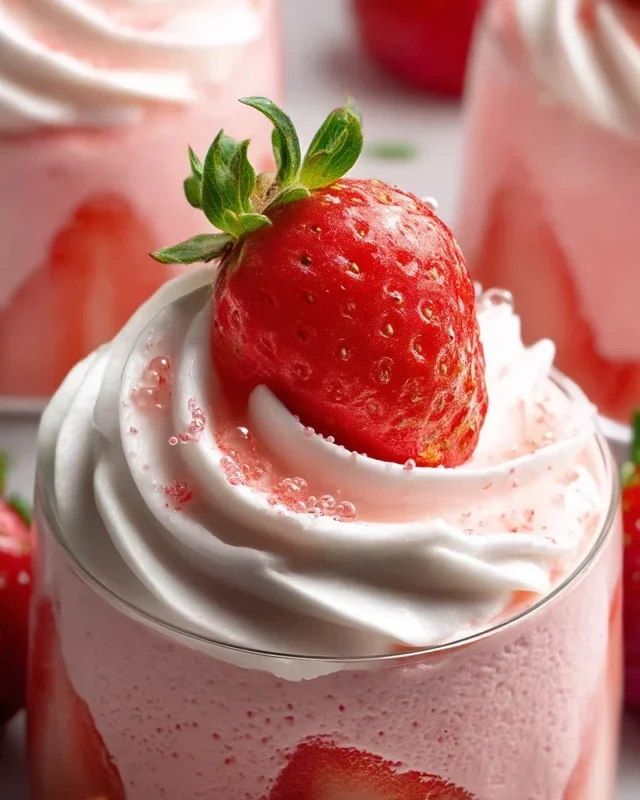
Serving your homemade Blue Moon Ice Cream is wonderfully versatile. It’s fantastic on its own, scooped into a cone or bowl. It also pairs beautifully with freshly baked cookies or brownies, or as a cooling contrast to a warm fruit crisp. For an extra special touch, consider topping it with whipped cream, a maraschino cherry, or even a sprinkle of blue edible glitter. Don’t be afraid to get creative!
Should you wish to explore variations, consider adding a swirl of raspberry sauce for a fruity counterpoint, or a handful of white chocolate chips for added texture. A touch of citrus zest, like lemon or lime, can also add a bright, zesty note. The beauty of making your own Blue Moon Ice Cream is the ability to tailor it to your exact preferences. So go ahead, dive in and enjoy this truly special frozen dessert!
Frequently Asked Questions:
Q: Can I make Blue Moon Ice Cream without an ice cream maker?
Absolutely! You can achieve a delicious Blue Moon Ice Cream without a machine. One popular method is the “no-churn” technique, which involves whipping heavy cream and condensed milk, then folding in the flavorings and coloring. Freeze the mixture in a loaf pan, stirring every 30-45 minutes for the first few hours to break up ice crystals and create a smoother texture.
Q: What gives Blue Moon Ice Cream its distinctive blue color and flavor?
The signature bright blue hue typically comes from food coloring, which is readily available in most grocery stores. The unique flavor, often described as a blend of almond extract and vanilla, sometimes with a hint of citrus or other fruity notes, is what truly defines Blue Moon Ice Cream. The specific combination of extracts can vary slightly between recipes, allowing for personal preference.
Q: How long can I store homemade Blue Moon Ice Cream?
Properly stored homemade Blue Moon Ice Cream can last in the freezer for about 1 to 2 weeks. It’s best to keep it in an airtight container to prevent freezer burn and absorption of any odors. For optimal texture, allow the ice cream to soften at room temperature for a few minutes before scooping.
Blue Moon Ice Cream- A Non-Non-Non-Alcoholic Alternativeic Dream
A vibrant and flavorful homemade Blue Moon ice cream recipe, offering a delightful non-alcoholic treat with a unique sweet and nutty profile.
Ingredients
-
2 cups heavy cream
-
1 cup whole milk
-
3/4 cup granulated sugar
-
1 teaspoon vanilla extract
-
1 teaspoon almond extract
-
Blue food coloring, as needed
-
1/4 cup maraschino cherries, chopped (optional)
Instructions
-
Step 1
Combine 1 cup whole milk and 3/4 cup granulated sugar in a saucepan. Whisk until sugar is dissolved. Heat over medium-low heat, stirring frequently, until warm and sugar is completely dissolved (about 5-7 minutes). Do not boil. -
Step 2
Remove from heat. Add 1 teaspoon vanilla extract and 1 teaspoon almond extract. Stir well to distribute flavors. -
Step 3
Transfer the flavored milk mixture to a clean bowl. Cover tightly with plastic wrap, pressing it directly onto the surface. Refrigerate for at least 4 hours, or preferably overnight, until thoroughly chilled. -
Step 4
Pour the chilled base into a prepared ice cream maker. Start churning. As it thickens, gradually add blue food coloring, a few drops at a time, while churning, until desired color is achieved. Continue churning until soft-serve consistency. -
Step 5
If using, gently fold in 1/4 cup chopped maraschino cherries during the last few minutes of churning or just after removing from the maker. Transfer to a freezer-safe container, press parchment or plastic wrap onto the surface, seal tightly, and freeze for at least 2-4 hours until firm.
Important Information
Nutrition Facts (Per Serving)
It is important to consider this information as approximate and not to use it as definitive health advice.
Allergy Information
Please check ingredients for potential allergens and consult a health professional if in doubt.