Easy Pickled Red Onions- Quick & Vibrant Flavor
Pickled red onions are the unsung heroes of any meal, transforming ordinary dishes into something truly extraordinary. Have you ever found yourself staring at a vibrant salad, a hearty taco, or a creamy avocado toast, thinking, “It’s good, but it could be better?” That’s where these ruby-jeweled beauties come in. The magic of pickled red onions lies in their ability to offer a perfect counterpoint – a tangy, slightly sweet, and wonderfully crisp burst that cuts through richness and adds a delightful pop of color. They’re incredibly versatile and surprisingly easy to make, meaning you can elevate your everyday cooking with minimal effort. I adore them because they bring such a vibrant personality to any plate, making everything feel a little more special, a little more considered. Let’s dive into how you can create your own batch of these delightful flavor bombs.
Pickled Red Onions
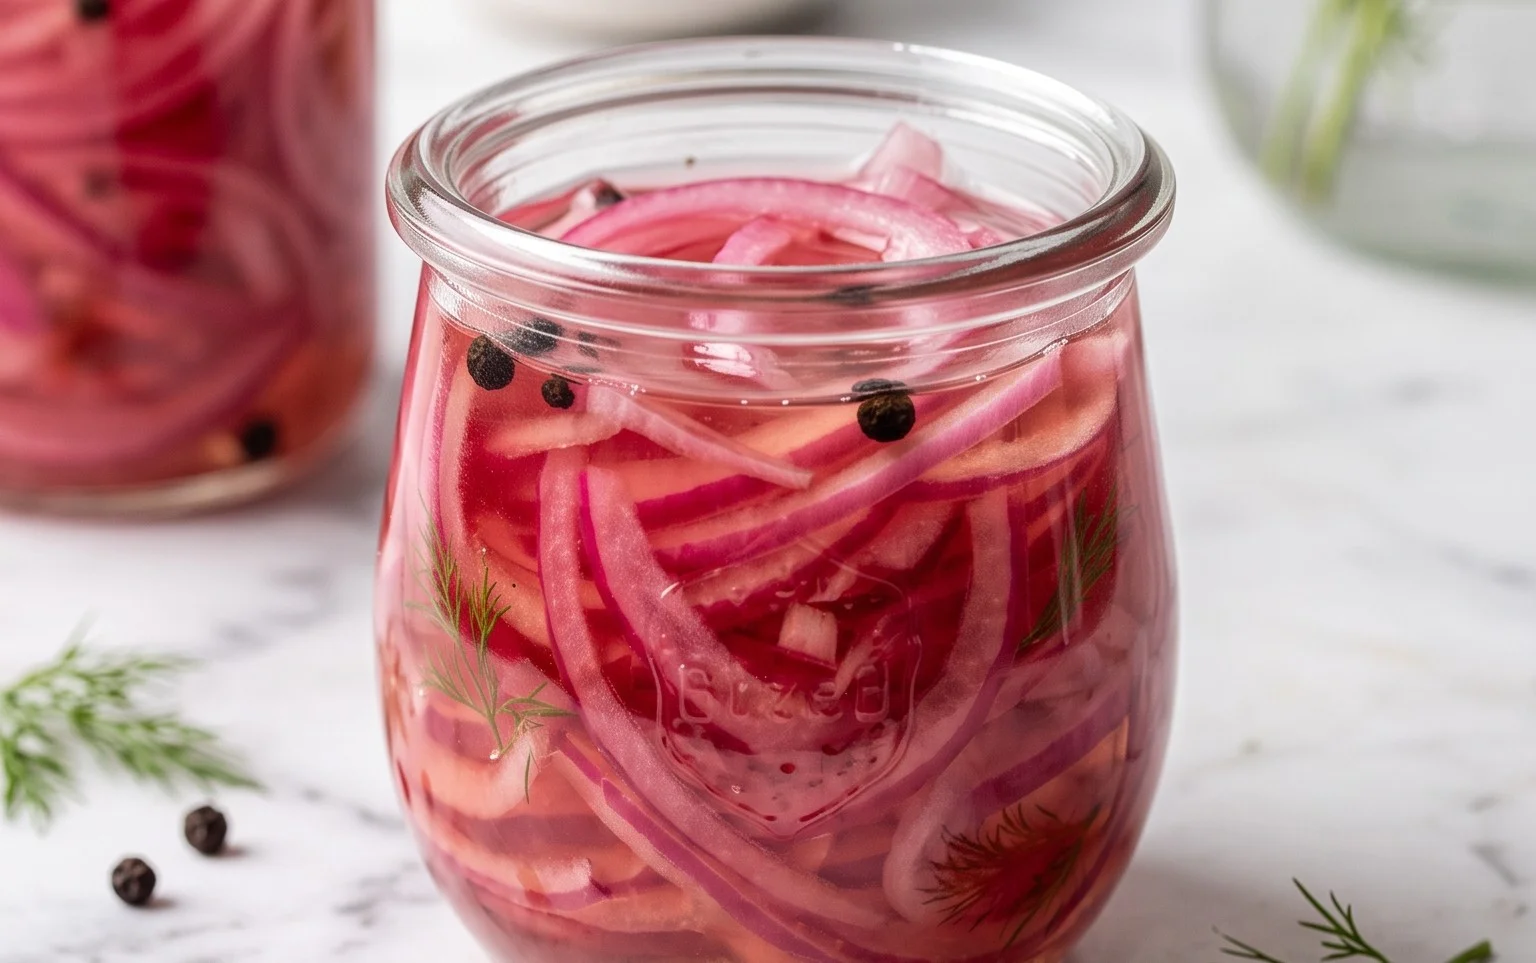
There are few culinary embellishments as simple yet transformative as a jar of vibrant, tangy pickled red onions. These beauties aren’t just a pretty pink addition to your plate; they offer a delightful burst of acidity and a subtle sweetness that cuts through richness, brightens up salads, and adds a professional finish to everything from tacos to sandwiches. Best of all, they are incredibly easy to make at home with just a handful of basic pantry staples. Forget those store-bought versions that often taste overly vinegary; making your own allows you to control the flavor profile and achieve that perfect balance. I love having a jar of these on hand in my refrigerator – they’re my secret weapon for elevating everyday meals.
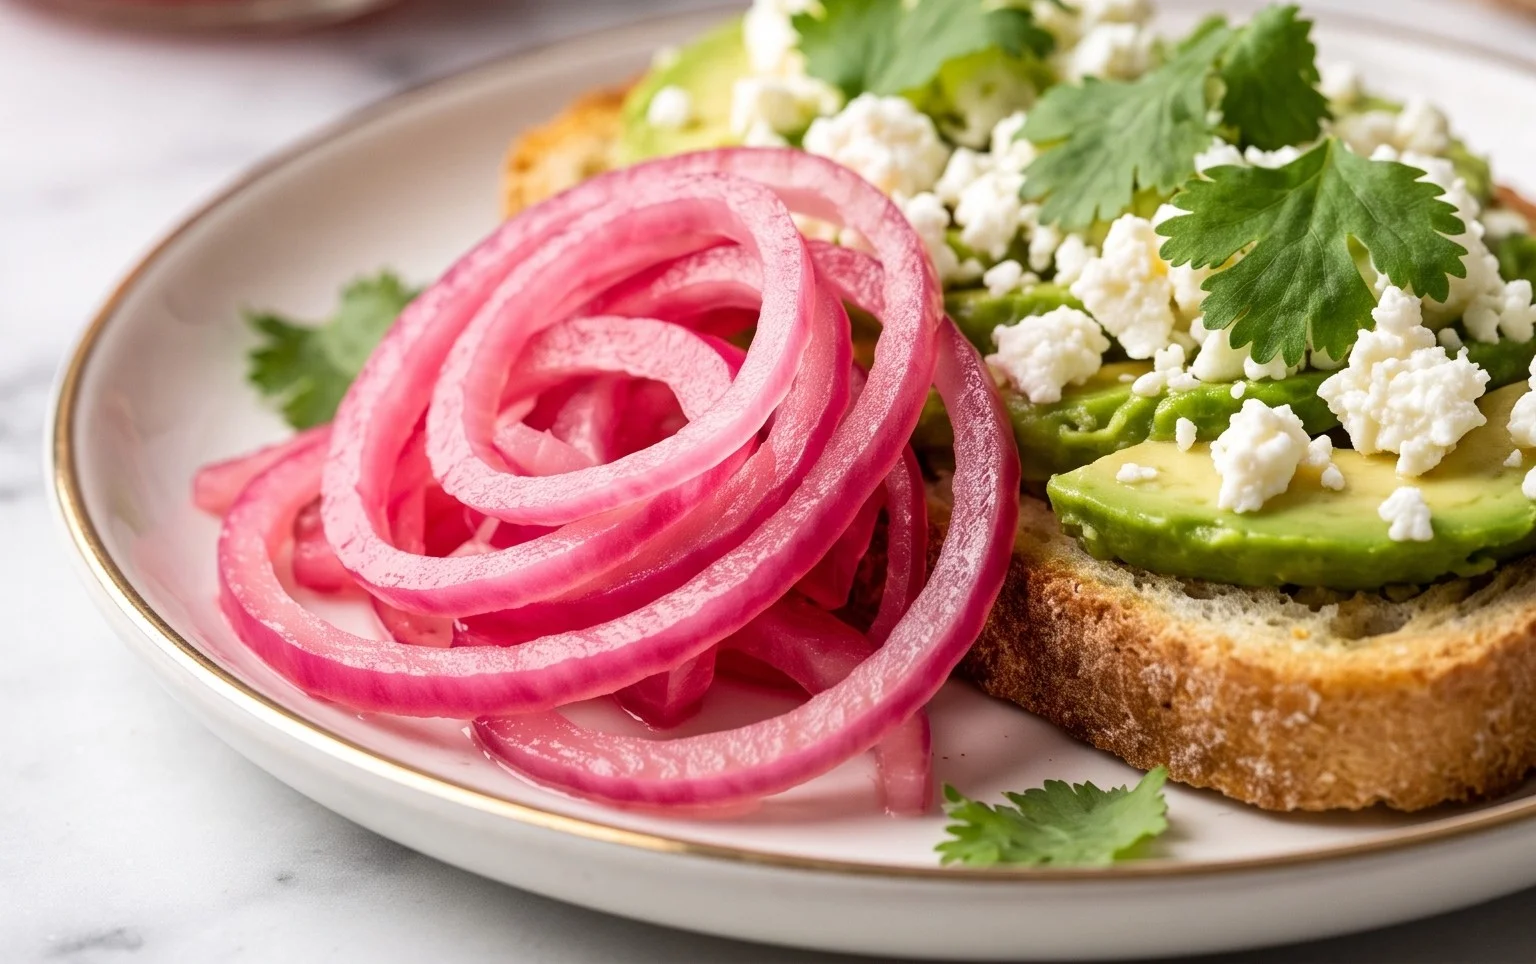
The magic of pickled red onions lies in their versatility. Their crisp texture and zesty flavor make them an ideal topping for avocado toast, a refreshing counterpoint to grilled meats, a welcome addition to a charcuterie board, or even a surprise element in a potato salad. The beautiful pink hue they develop is also a visual treat. The process is straightforward and requires minimal active cooking time. Once you’ve made them once, you’ll find yourself reaching for this recipe again and again.
Ingredients:
Instructions:
The beauty of this recipe is its simplicity. You’ll be amazed at how quickly you can transform a humble red onion into this vibrant condiment. The key is to get the brine just right and allow the onions ample time to pickle.
Prepare the Onion:
Begin extract by preparing your red onion. Peel off the papery outer layers. You can either slice the onion very thinly into rings or cut it in half pole-to-pole and then slice it thinly. For a more uniform look, slicing into rings is generally preferred, but if you find that difficult, the half-and-half method works just as well. The thinner you slice the onion, the quicker it will pickle and the more tender it will become. I find that a mandoline slicer is fantastic for achieving perfectly even, thin slices, but a sharp knife and a steady hand will also do the trick. Aim for slices that are about 1/8 inch thick. Once sliced, place the onion rings into a heatproof jar or a sturdy glass bowl. A mason jar is ideal for storage, but any glass container will work for the pickling process itself.
Make the Brine:
Now, it’s time to create the pickling liquid, or brine. In a small saucepan, combine the white vinegar, water, sugar, and kosher salt. White vinegar is a classic choice for pickling because its neutral flavor profile allows the other ingredients to shine, and its acidity is strong enough to preserve the onions. If you prefer a milder tang, you could experiment with half white vinegar and half apple cider vinegar, but for this classic recipe, white vinegar is perfect. Stir the mixture over medium heat until the sugar and salt have completely dissolved. It’s important to ensure they are fully dissolved before proceeding, as this ensures an even distribution of flavor and proper preservation. You don’t need to bring this mixture to a rolling boil; just heat it enough to dissolve the solids. Once dissolved, remove the saucepan from the heat.
Combine Onion and Brine:
Carefully pour the hot brine over the sliced red onions in your jar or bowl. Make sure that all the onion slices are submerged in the liquid. If your jar is not quite full enough, you can always add a little more water or vinegar in equal parts to cover them completely. Gently stir the onions in the brine to ensure they are all coated and to help them begin extract to soften. You will immediately notice the onions starting to soften and the brine taking on a beautiful pinkish hue as the natural pigments from the red onion begin extract to leach out. This is the begin extractning of the magical transformation! Cover the jar or bowl tightly. If using a bowl, you can cover it tightly with plastic wrap.
Allow to Pickle:
This is where patience comes into play, but it’s a passive waiting game. Let the onions sit at room temperature for at least 30 minutes. During this time, the onions will continue to soften and absorb the tangy flavors of the brine. You’ll see the color deepen and become more vibrant. For a milder, crisper pickle, 30 minutes to an hour is usually sufficient. If you prefer a more pronounced flavor and a softer texture, you can let them sit for up to 2 hours. After this initial period at room temperature, transfer the jar to the refrigerator. The cold will slow down the pickling process but allow the flavors to continue to meld and deepen over time. They will become even more delicious as they chill.
Storage and Serving:
Once chilled, your pickled red onions are ready to be enjoyed! They are typically best after at least an hour in the refrigerator, but they will continue to improve in flavor for up to two weeks. The longer they sit, the more intense the flavor will become. To serve, simply lift the onions out of the brine with a fork or slotted spoon, draining off any excess liquid. You can use the pickling liquid for other purposes as well – it’s fantastic in salad dressings, marinades, or even to add a little zing to your next batch of rice. Store the remaining onions in their brine in an airtight container in the refrigerator. They will maintain their quality and flavor for a good while, making them a convenient and delicious addition to your culinary repertoire.
Enjoy experimenting with these versatile pickled red onions! They are a simple addition that makes a big impact.
Conclusion:
And there you have it – the ultimate guide to making your own vibrant and delicious pickled red onions! This recipe is truly fantastic because it transforms humble red onions into a bright, tangy, and slightly sweet condiment that elevates practically any dish. The simplicity of the ingredients and the quick pickling process mean you can enjoy these beauties in no time, adding a burst of color and flavor to your meals. Whether you’re looking to impress guests or simply add a gourmet touch to your everyday cooking, these pickled red onions are an absolute winner.
The versatility of pickled red onions is truly remarkable. They are a perfect accompaniment to tacos, burgers, sandwiches, salads, avocado toast, and even charcuterie boards. Imagin extracte the pop of pink on your next brunch plate or the zesty crunch on your favorite burrito – the possibilities are endless! Don’t be afraid to experiment with variations too. You can add a pinch of chili flakes for a touch of heat, a few peppercorns for extra spice, or even a sprig of dill for a fresh, herbaceous note. I highly encourage you to give this recipe a try; I promise you won’t be disappointed!
Frequently Asked Questions:
How long do pickled red onions last?
When stored in an airtight container in the refrigerator, these pickled red onions will typically last for 2 to 3 weeks. The acidity of the brine acts as a natural preservative, but their vibrant color and crisp texture are best within this timeframe. Give them a good shake before each use!
Can I make this recipe spicier?
Absolutely! If you love a bit of heat, feel free to add 1/4 to 1/2 teaspoon of red pepper flakes to the brine mixture. You can also add a whole dried chili pepper for a milder, infused spice. Adjust the amount to your personal spice preference.
What if I don’t have red grape juice vinegar?
No problem at all! You can substitute white grape juice vinegar, apple cider vinegar, or even plain white vinegar for a similar tangy result. While red grape juice vinegar contributes a lovely deep hue, other vinegars will still create wonderfully delicious pickled red onions.
Pickled Red Onions
Quick and easy pickled red onions, perfect for adding a zesty bite to sandwiches, tacos, salads, and more. This recipe uses a simple brine that requires no cooking.
Ingredients
-
1 large Red onion, thinly sliced
-
1 cup White Vinegar
-
1 cup Water
-
1 tablespoon Sugar
-
2 teaspoons Kosher salt
Instructions
-
Step 1
Thinly slice the red onion. A mandoline slicer works best for uniform slices. -
Step 2
In a medium bowl or jar, combine the white vinegar, water, sugar, and kosher salt. -
Step 3
Stir the mixture until the sugar and salt are completely dissolved. -
Step 4
Add the thinly sliced red onions to the brine. Ensure the onions are fully submerged. -
Step 5
Cover the bowl or jar tightly. -
Step 6
Let the onions pickle at room temperature for at least 30 minutes. For a more intense flavor, refrigerate for a few hours or overnight.
Important Information
Nutrition Facts (Per Serving)
It is important to consider this information as approximate and not to use it as definitive health advice.
Allergy Information
Please check ingredients for potential allergens and consult a health professional if in doubt.