Cardamom Fig Thumbprint Cookies – Delicious Treats
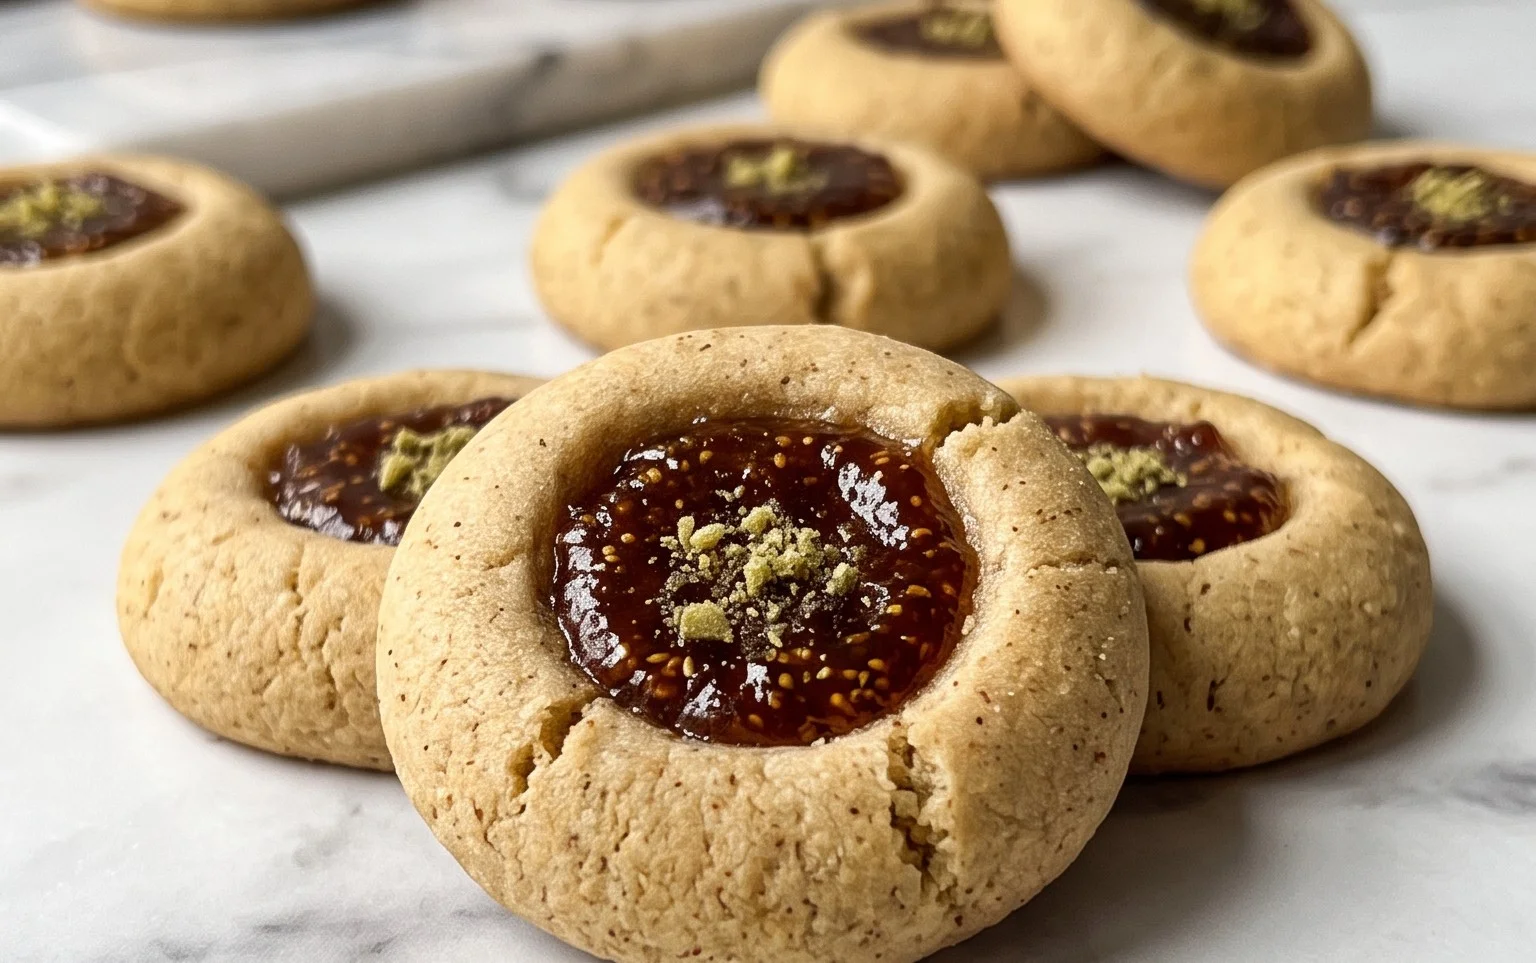
Cardamom Fig Thumbprint Cookies are more than just a sweet treat; they’re a whisper of autumn and a hug in every bite. Imagin extracte a delicate, buttery cookie, infused with the warm, aromatic embrace of cardamom, cradling a luscious, jewel-toned fig jam center. It’s this irresistible combination that has captured my heart, and I suspect it will capture yours too. People are drawn to these cookies for their sophisticated yet comforting flavor profile. The slight peppery warmth of cardamom beautifully complements the natural sweetness of the figs, creating a harmonious balance that’s truly addictive. What makes these Cardamom Fig Thumbprint Cookies truly special is their elegant simplicity. They look impressive enough for a holiday gathering but are wonderfully easy to whip up for a cozy afternoon tea. Get ready to fall in love with these little gems!
Cardamom Fig Thumbprint Cookies
These Cardamom Fig Thumbprint Cookies are a delightful fusion of warm, aromatic spices and sweet, chewy fig jam, all nestled within a tender, buttery cookie. They’re perfect for any occasion, from festive holidays to a simple afternoon treat. The subtle hint of cardamom elevates the classic thumbprint cookie to something truly special, and the vibrant fig jam provides a burst of fruity sweetness that perfectly complements the delicate spice. I love how the texture is just right – a slight crispness on the edges with a wonderfully soft and yielding center. They’re surprisingly easy to make, and the aroma that fills your kitchen as they bake is simply divine. Let’s get baking!
Ingredients:
Creaming the Butter and Sugar
The first step to creating these delightful cookies is to achieve a perfectly creamy butter and sugar mixture. In a large mixing bowl, combine the softened butter and sugar. Softened butter is key here; it should be pliable and easy to indent with your finger but not melted. This will ensure that the sugar crystals are properly incorporated, creating a light and airy base for our cookies. Using an electric mixer (handheld or stand mixer with a paddle attachment) is highly recommended for this stage. Start by mixing on low speed to combine the ingredients, then gradually increase the speed to medium-high. Cream the butter and sugar for about 3-5 minutes, until the mixture is pnon-alcoholic ale yellow and fluffy. You should see a noticeable difference in texture; it will be light and airy, almost like a whipped cream. This creaming process incorporates air into the dough, which contributes to the cookies’ tender texture and helps them spread just the right amount as they bake. Scrape down the sides of the bowl occasionally to ensure everything is evenly mixed.
Adding Wet Ingredients and Spices
Once your butter and sugar are perfectly creamed, it’s time to add the wet ingredients and our star spice. Add the vanilla extract and the prepared plant-based egg substitute (or traditional egg) to the creamed mixture. If you’re using a plant-based egg substitute, ensure it’s the prepared kind, as it’s designed to mimic the binding and leavening properties of an egg. Beat these in until just combined. Overmixing at this stage can develop the gluten in the flour too much, leading to tougher cookies, so be gentle. Now, it’s time for that beautiful aroma! Add the ground cardamom to the bowl. This fragrant spice is the heart of these cookies, so don’t be shy. Give it a quick mix to distribute the cardamom evenly throughout the wet ingredients. The warmth of the cardamom will be evident as you stir, and it promises a wonderfully spiced cookie.
Combining Dry Ingredients and Forming the Dough
In a separate medium bowl, whisk together the flour, salt, and baking soda. Whisking these dry ingredients together ensures that the leavening agents (baking soda) and salt are evenly distributed throughout the flour, which will lead to consistent cookie rise and flavor. Now, gradually add the dry ingredients to the wet ingredients. It’s best to do this in a few additions, mixing on low speed until just combined after each addition. Stop mixing as soon as you no longer see streaks of dry flour. Overmixing at this point can also result in tough cookies, so err on the side of under-mixing. The dough will start to come together. Once most of the flour is incorporated, you can switch to a spatula or your hands to finish bringin extractg the dough together. It should be a soft, pliable dough. If the dough seems too sticky to handle, you can refrigerate it for about 15-20 minutes, which will make it easier to shape. However, for these thumbprints, a slightly softer dough is often preferable.
Shaping and Filling the Cookies
Now for the fun part – shaping our thumbprints! Preheat your oven to 350 degrees Fahrenheit (175 degrees Celsius). Line baking sheets with parchment paper. This prevents sticking and makes for easy cleanup. Take about 1 to 1.5 tablespoons of dough and roll it into a ball between your palms. Place the dough balls about 2 inches apart on the prepared baking sheets. Now, using your thumb (or the back of a small spoon), create an indentation in the center of each cookie. Make the indentation deep enough to hold a good amount of jam but not so deep that it breaks through the bottom of the cookie. Gently press your thumb into the dough ball, twisting slightly to create a nice, well-shaped indentation. Once all your cookies are shaped and indented, it’s time to fill them with our delicious fig jam. Spoon about ½ to 1 teaspoon of fig jam into each indentation. Don’t overfill, as the jam can bubble over and make a mess. Just enough to fill the well nicely is perfect.
Baking and Finishing Touches
Place the baking sheets in the preheated oven. Bake for 12-15 minutes, or until the edges of the cookies are lightly golden brown and the centers are set but still appear slightly soft. The exact baking time will depend on your oven, so keep an eye on them, especially during the first batch. Once baked, let the cookies cool on the baking sheets for about 5 minutes before transferring them to a wire rack to cool completely. This resting period on the baking sheet allows the cookies to firm up slightly, making them easier to move without breaking. Once the cookies have cooled completely, you can add an optional dusting of confectioner’s sugar. Sift a generous amount of confectioner’s sugar over the cookies for a beautiful, snowy finish that adds just a touch of extra sweetness. These Cardamom Fig Thumbprint Cookies are best enjoyed within a few days, stored in an airtight container at room temperature. They also freeze beautifully, so feel free to make a double batch!
Conclusion:
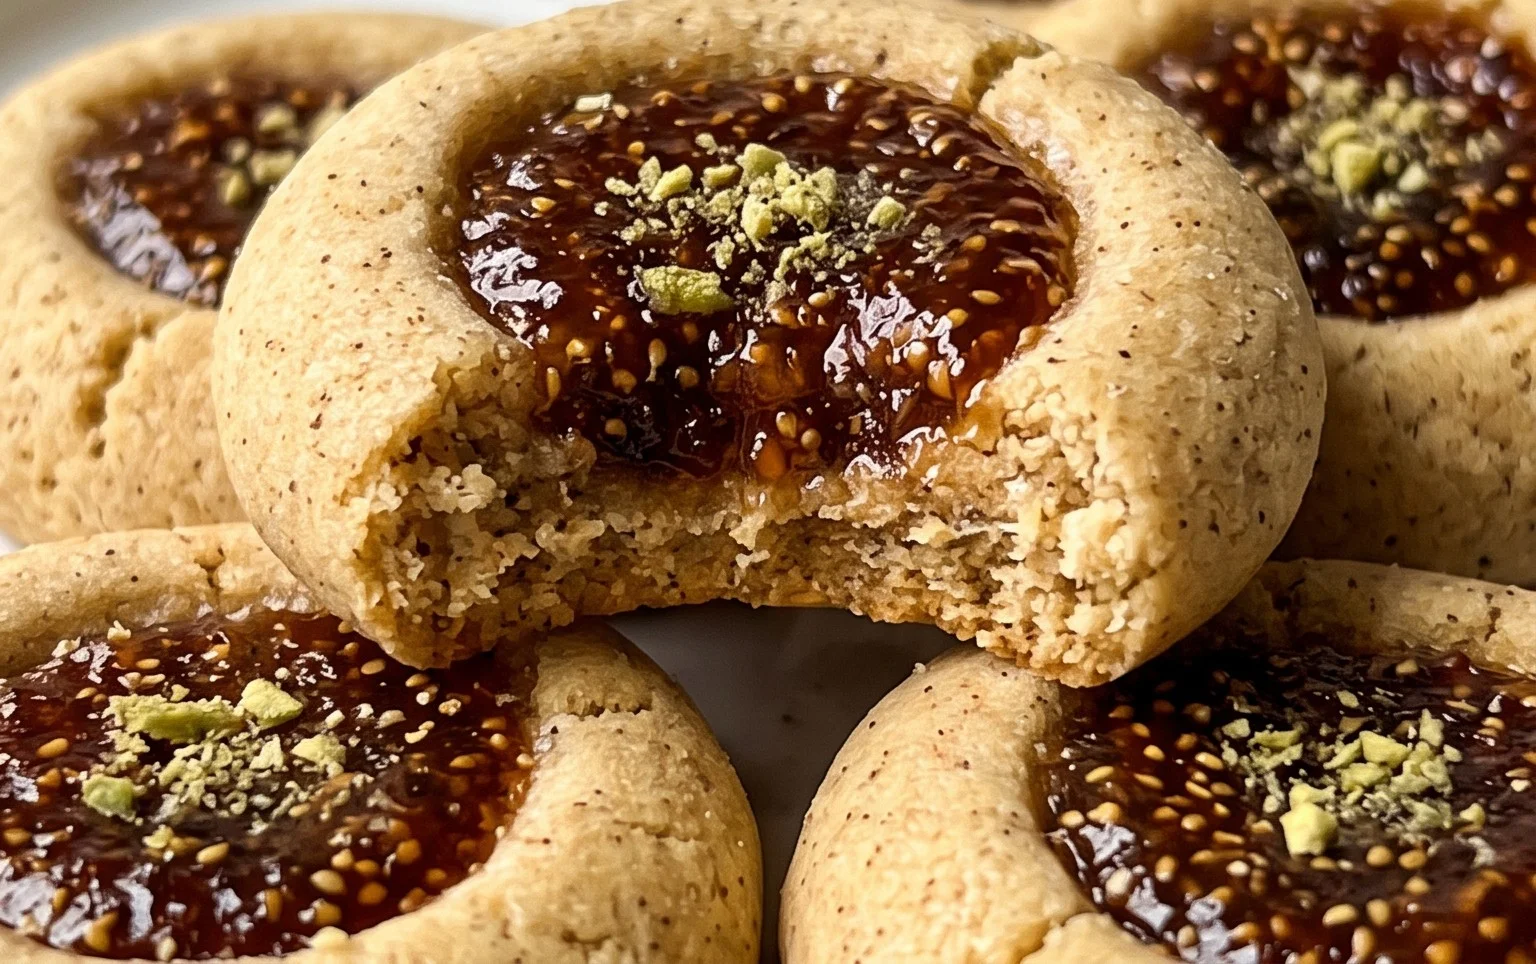
There you have it – the delightfully aromatic and wonderfully textured Cardamom Fig Thumbprint Cookies! This recipe is a true winner because it balances the warmth of cardamom with the sweet, chewy burst of figs, all nestled in a tender, buttery cookie. They’re surprisingly easy to make, yet elegant enough to impress any guest. I find them perfect for afternoon tea, a special holiday treat, or simply when you need a little something sweet to brighten your day. Serve them with a steaming mug of chai, a strong coffee, or even a glass of milk for a comforting pairing. Don’t be afraid to experiment with the filling; apricot jam or even a dollop of chocolate ganache would be delicious variations!
I truly encourage you to give these Cardamom Fig Thumbprint Cookies a try. They’re a delightful addition to any cookie repertoire and offer a unique flavor profile that’s both comforting and sophisticated. You won’t regret the sweet reward!
Frequently Asked Questions:
Can I make these cookies ahead of time?
Absolutely! These Cardamom Fig Thumbprint Cookies can be baked and stored in an airtight container at room temperature for up to 3-4 days. They often taste even better the next day as the flavors meld together.
What if I don’t have fresh figs? Can I use dried figs?
Yes, you can definitely use dried figs! If using dried figs, you’ll want to rehydrate them first. Chop them finely and soak them in a little warm water or juice (like orange or fig nectar) for about 15-20 minutes until they are plump and soft. Drain any excess liquid before using them as the filling.
Are there any nut-free variations?
Yes, this recipe is naturally nut-free, so you don’t need to make any substitutions! The focus keyword ‘Cardamom Fig Thumbprint Cookies’ highlights the key ingredients without relying on nuts for flavor or texture.
Cardamom Fig Thumbprint Cookies
Delicate thumbprint cookies infused with aromatic cardamom and filled with sweet fig jam. A delightful treat for any occasion.
Ingredients
-
1 tsp Ground cardamom
-
2 cups Flour
-
1/4 tsp Salt
-
1/4 tsp Baking soda
-
3/4 cup Sugar
-
1 cup Butter (softened)
-
1 tsp Vanilla
-
1 tbsp Prepared plant-based egg substitute
-
1 jar Fig jam
-
4 tbsp Confectioner’s sugar (for dusting, optional)
Instructions
-
Step 1
Preheat oven to 350°F (175°C). Line baking sheets with parchment paper. -
Step 2
In a medium bowl, whisk together flour, ground cardamom, salt, and baking soda. -
Step 3
In a large bowl, cream together softened butter and sugar until light and fluffy. Beat in vanilla extract and plant-based egg substitute until well combined. -
Step 4
Gradually add the dry ingredients to the wet ingredients, mixing until just combined to form a dough. Do not overmix. -
Step 5
Roll dough into 1-inch balls and place them on the prepared baking sheets, about 2 inches apart. -
Step 6
Using your thumb or the back of a small spoon, create an indentation in the center of each cookie ball. -
Step 7
Spoon about 1/2 teaspoon of fig jam into each indentation. -
Step 8
Bake for 10-12 minutes, or until the edges are lightly golden brown. The centers should still appear slightly soft. -
Step 9
Let cookies cool on the baking sheets for a few minutes before transferring them to a wire rack to cool completely. -
Step 10
Optional: Dust with confectioner’s sugar once cooled.
Important Information
Nutrition Facts (Per Serving)
It is important to consider this information as approximate and not to use it as definitive health advice.
Allergy Information
Please check ingredients for potential allergens and consult a health professional if in doubt.