Easy Homemade Strawberry Ice Cream Recipe
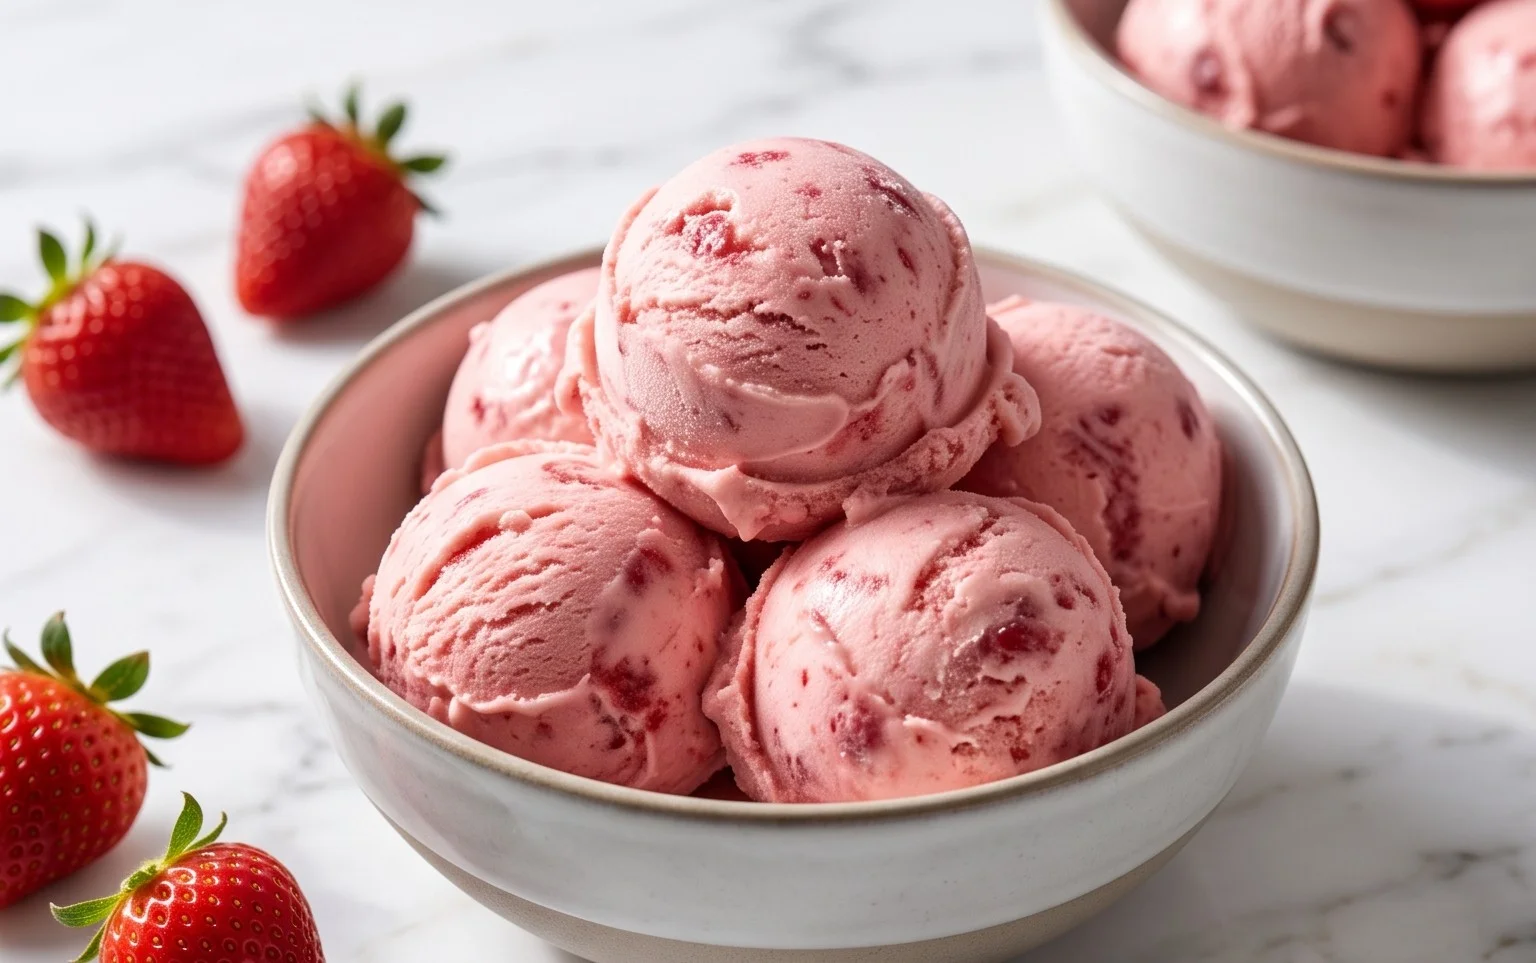
Homemade strawberry ice cream is a summer dream in a scoop. There’s something undeniably magical about its vibrant pink hue and the burst of sweet, sun-ripened strawberry flavor that instantly transports you to carefree days. Forget the artificial taste of store-bought varieties; this homemade strawberry ice cream is a testament to the simple perfection of fresh ingredients. We all have those cherished memories associated with a perfect bowl of ice cream, and for many, it’s the classic strawberry flavor that reigns supreme. It’s that pure, unadulterated sweetness, balanced with a subtle tang, that makes it so universally beloved. What truly sets this recipe apart is the ability to control the sweetness and the intensity of the strawberry flavor, making it uniquely yours. Get ready to discover the joy of crafting your very own, incredibly delicious, homemade strawberry ice cream!
Homemade Strawberry Ice Cream
There’s something truly magical about homemade ice cream, and when it comes to summer flavors, strawberry reigns supreme. Forget those store-bought versions with their long lists of unpronounceable ingredients; this recipe for homemade strawberry ice cream is remarkably simple, incredibly fresh, and bursting with authentic strawberry goodness. Using just a handful of real ingredients, you can create a frozen treat that will have everyone asking for seconds. We’re going to harness the natural sweetness of strawberries, enhance it with a touch of honey and sugar, and then create a luxuriously creamy base that allows the fruit to truly shine. Get ready to impress yourself and your loved ones with this delightful homemade dessert.
Ingredients:
Preparing the Strawberry Base
The foundation of any great strawberry ice cream is, of course, the strawberries themselves. We want to coax out their natural sweetness and vibrant flavor before incorporating them into our creamy base.
Creating the Creamy Ice Cream Base
While our strawberries are doing their thing, it’s time to prepare the luxurious, creamy base that will cradle all that strawberry goodness. This is where the magic of heavy whipping cream and half and half comes into play, ensuring a rich and decadent texture without being too heavy.
- In a separate, larger bowl, whisk together the heavy whipping cream, half and half, and vanilla extract. The vanilla is crucial for rounding out the flavors and adding that classic ice cream aroma and taste. Whisk until just combined; you don’t want to whip the cream at this stage, as we’re not making whipped cream. We’re simply creating a smooth liquid base that will be chilled before churning.
- Once the strawberries have macerated and released their juices, gently fold them into the cream mixture. If you’ve puréed your strawberries, now’s the time to stir in that smooth purée. Ensure everything is well combined but again, avoid over-mixing. We want to maintain the integrity of the strawberry flavor and texture as much as possible.
- Cover the bowl with plastic wrap and refrigerate the strawberry mixture for at least 4 hours, or preferably overnight. The longer it chills, the colder and more solidified it will become, which is ideal for churning. A very cold base is essential for creating small ice crystals, which translate to a smooth and creamy ice cream. While the base is chilling, make sure your ice cream maker’s bowl is frozen according to the manufacturer’s instructions – this is non-negotiable for a successful churn!
- Once your base is thoroughly chilled and your ice cream maker is ready, pour the mixture into the frozen bowl of your ice cream maker. Churn according to the manufacturer’s instructions. This typically takes about 20-30 minutes. During this time, the ice cream will thicken and become scoopable, but it will still be quite soft, almost like a very thick soft-serve. This is the point where it’s technically considered “soft” ice cream.
- For a firmer, more traditional ice cream consistency, transfer the churned ice cream to an airtight container and place it in the freezer for at least 2-4 hours to harden. This final freezing step allows the ice cream to firm up properly. When it’s ready, you’ll have a scoopable, homemade strawberry ice cream that tastes like pure summer. Enjoy every delicious spoonful!
-
1 1/2 cups strawberries, hulled and diced
-
2 Tbsp honey
-
1/2 cup granulated sugar
-
1 tsp lemon juice
-
1 cup heavy whipping cream
-
1/2 cup half and half
-
1 tsp vanilla extract
-
Step 1
In a bowl, combine the diced strawberries, honey, granulated sugar, and lemon juice. Stir gently and let sit for about 15-20 minutes to allow the strawberries to macerate and release their juices. -
Step 2
Mash the strawberries lightly with a fork or potato masher to break them down further, but leave some small pieces for texture. -
Step 3
In a separate bowl, whisk together the heavy whipping cream, half and half, and vanilla extract until well combined. -
Step 4
Add the strawberry mixture to the cream mixture and stir until evenly distributed. -
Step 5
Pour the mixture into an ice cream maker and churn according to the manufacturer’s instructions. -
Step 6
Transfer the churned ice cream to an airtight container and freeze for at least 2-4 hours, or until firm.
Chilling and Churning the Ice Cream
This next step is critical for achieving the perfect ice cream texture. Chilling the base thoroughly before churning allows the ice cream maker to do its job more efficiently, resulting in a smoother, more uniformly frozen dessert.
Conclusion:
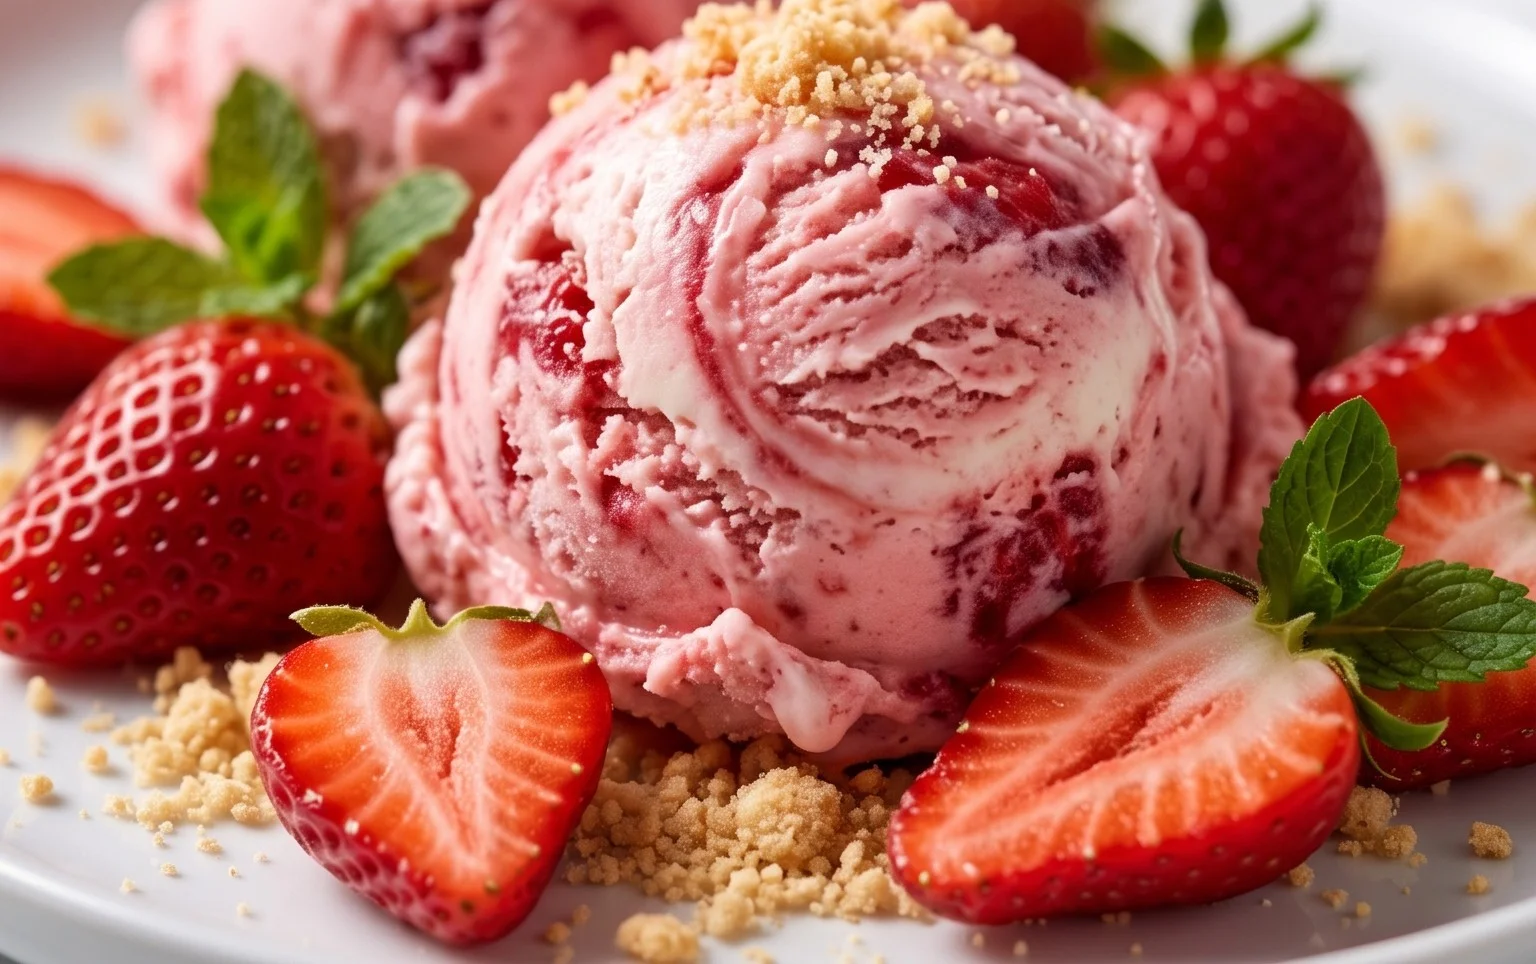
You’ve now learned how to create incredibly delicious homemade strawberry ice cream right in your own kitchen! This recipe is a winner because it uses fresh, ripe strawberries for an authentic, vibrant flavor that store-bought varieties simply can’t match. The creamy texture, achieved through simple ingredients and a bit of patience, is utterly satisfying. It’s a fantastic way to enjoy the taste of summer any time of year.
Serving this delightful treat is a joy. It’s perfect on its own, but consider topping it with a drizzle of chocolate sauce, a scattering of fresh berries, a dollop of whipped cream, or even a sprig of mint. For variations, try adding a swirl of balsamic glaze for a sophisticated twist, or mix in some finely chopped basil for a surprising herbaceous note. You could also experiment with different berry combinations alongside the strawberries.
Don’t be intimidated by making ice cream from scratch! It’s a rewarding process that results in a truly special dessert. So, gather your ingredients, embrace the chill, and dive into the world of homemade frozen delights. I truly encourage you to give this homemade strawberry ice cream recipe a try – you won’t regret it!
FAQs:
Why is my strawberry ice cream not smooth?
The most common culprits for not-so-smooth ice cream are ice crystals. Ensure your ice cream maker is properly chilled according to the manufacturer’s instructions. Also, make sure the strawberry mixture is thoroughly chilled before churning. Avoid over-churning, as this can sometimes lead to a coarser texture. Freezing the ice cream quickly after churning also helps minimize ice crystal formation.
Can I make this without an ice cream maker?
Absolutely! While an ice cream maker makes it easiest, you can achieve a delicious result without one. Prepare the strawberry base as directed. Pour it into a shallow freezer-safe container. Every 30-45 minutes for the first 3-4 hours, remove the container from the freezer and vigorously whisk or blend the mixture to break up ice crystals. This manual churning process mimics the action of an ice cream maker and yields a lovely texture.
Homemade Strawberry Ice Cream
A simple and delicious homemade strawberry ice cream recipe using fresh ingredients.
Ingredients
Instructions
Important Information
Nutrition Facts (Per Serving)
It is important to consider this information as approximate and not to use it as definitive health advice.
Allergy Information
Please check ingredients for potential allergens and consult a health professional if in doubt.